How to Seal Shower Grout for Lasting Protection
A shower can look clean at first glance while the grout lines are quietly absorbing soap film, body oils, hard-water minerals, and mildew. Learning how to seal shower grout helps protect those porous joints, but sealer only works when the grout is truly clean and dry first. Applied over buildup, it can trap discoloration underneath and leave you with the same tired-looking shower.
For many Central Florida homeowners, humidity makes this job even more important. A properly sealed shower is not maintenance-free, but it is easier to clean, slower to stain, and better protected from the daily moisture that works its way into unsealed grout.
Start With Clean, Dry Grout
Sealing is the last step, not the first. Grout must be free of soap residue, mildew, hard-water deposits, and old cleaner residue before a penetrating sealer can do its job. A grout line that looks gray, orange, or dark around the lower walls may need more than a quick scrub.
Start with a cleaner made for shower tile and grout, following the product directions carefully. Work in small sections with a grout brush, not a metal brush that can damage the grout or scratch certain tile finishes. Rinse thoroughly so no cleaning product remains behind. If you see stubborn staining that does not respond to normal cleaning, do not keep escalating with harsh chemicals. Acidic products, bleach, and abrasive powders can create more damage, especially around natural stone, travertine, or older grout.
After cleaning, allow the shower to dry completely. This is where many do-it-yourself sealing jobs fall short. Most grout needs at least 24 hours of dry time, and sometimes 48 to 72 hours if the bathroom is humid, the grout was deeply saturated, or the shower has limited airflow. Run the exhaust fan, leave the shower door open, and avoid using the shower during that period.
If the grout remains dark in certain areas after drying, it may still hold moisture or staining below the surface. Sealing at that point can lock in the problem. Professional extraction and restoration can be the better choice when grout is deeply discolored, greasy, or affected by long-term hard-water buildup.
Choose the Right Sealer for Your Shower
The best choice for most cement-based shower grout is a penetrating or impregnating grout sealer. Instead of forming a film on top, it soaks into porous grout and helps repel water, soap residue, and stains while allowing moisture vapor to escape. That matters in a shower, where surface coatings can peel or turn cloudy if they are not designed for constant moisture.
Avoid confusing grout sealer with tile-and-grout color sealer. A clear penetrating sealer protects grout while keeping its existing color. Color sealing is a restoration option that adds a consistent color and creates a more stain-resistant finish. It can be an excellent solution for grout that is permanently stained or uneven in color, but it requires careful prep and a different application process.
Before buying or applying any product, identify your surface. Ceramic and porcelain tile are usually straightforward, but natural stone requires a stone-safe product. Also check whether your shower has epoxy grout. Epoxy grout is far less porous than standard cement grout and usually does not need a penetrating sealer. If you are unsure, test a small, inconspicuous area or ask a tile and grout professional before treating the whole shower.
How to Seal Shower Grout Step by Step
Once the grout is clean and fully dry, gather a quality penetrating sealer, small applicator bottle or narrow foam brush, clean microfiber towels, gloves, and a timer. Good lighting is useful because missed spots are easy to overlook in a shower corner or behind a glass door.
Apply sealer directly to the grout lines
Work one manageable section at a time. Use an applicator with a wheel tip, a small brush, or a narrow bottle tip to place sealer directly along each grout line. The goal is to wet the grout evenly without flooding the tile face.
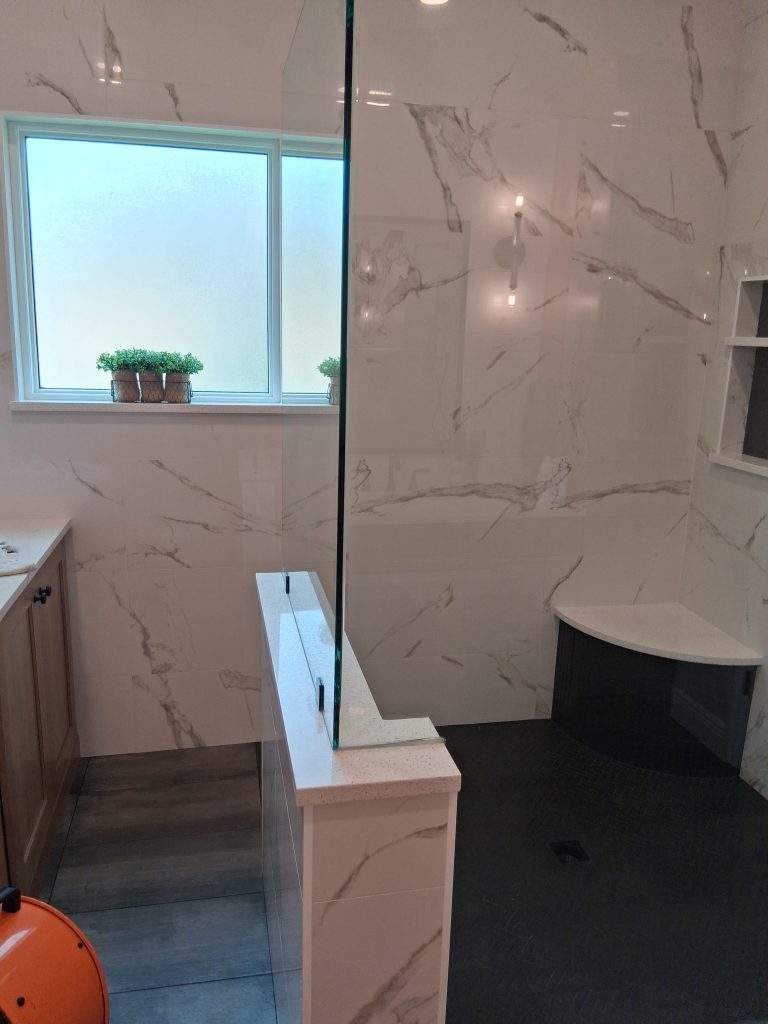
Pay special attention to the lower wall joints, shower floor grout, corners near the shower door, niches, benches, and the area around fixtures. These locations receive the most water and tend to show staining first. If the grout absorbs the first coat quickly, apply a second light coat within the time window listed on the product label.
Let it dwell, then remove excess
Allow the sealer to sit for the manufacturer’s recommended dwell time, often just a few minutes. Do not assume longer is better. Leaving excess sealer on the tile too long can create a hazy residue that is difficult to remove, particularly on textured tile and natural stone.
Use a clean microfiber cloth to buff away every trace of excess from the tile surface. Change to a fresh side of the towel as it becomes damp. Look at the walls from several angles before moving on. If you can see shiny puddles, streaks, or residue on the tile, wipe again.
Allow full cure time
The shower should stay dry for the full curing period on the label. Many sealers need 24 hours before water exposure, while others require longer for maximum protection. Do not rush this step because a morning shower can weaken a fresh application before it has cured properly.
It is also wise to avoid strong cleaners for the first several days. Once the sealer has cured, use a pH-neutral bathroom cleaner rather than harsh acids or bleach-based products that can reduce the life of the protective treatment.
Test Whether the Grout Is Sealed
After the cure time has passed, test a small grout line with a few drops of water. If the water beads on the surface or sits there briefly instead of soaking in immediately, the sealer is working. If the grout darkens right away and absorbs the water, it likely needs another coat or was not dry enough when sealed.
This simple water test is useful once or twice a year. It gives you a better answer than relying on a calendar alone, since shower use, ventilation, cleaning habits, and grout condition all affect how long a sealer lasts.
How Often Should Shower Grout Be Sealed?
For a frequently used shower with standard cement-based grout, plan to inspect the sealer annually and reapply when the water test shows absorption. Some quality products may last longer, but shower floors and lower wall areas generally wear sooner than upper walls.
A busy household, a rental property, or a commercial restroom may need more frequent attention. The same applies when a shower has poor ventilation, hard-water exposure, or heavy use of aggressive cleaners. On the other hand, lightly used guest showers may hold protection longer.
Remember that silicone or caulk joints are not grout. Sealer will not repair cracked, missing, or moldy caulk around the shower pan, corners, doors, or fixtures. Those joints should be removed and replaced when they fail, because they are part of the shower’s water-management system.
When Professional Grout Sealing Makes More Sense
A homeowner can seal clean, sound grout successfully. The challenge is that many showers are not starting from a clean, sound condition. Grout can look permanently dark because embedded soil and mineral deposits remain below the surface, while worn or cracked areas can absorb moisture far beyond what a clear sealer can solve.
Professional cleaning uses high heat, pressure, specialized solutions, and extraction to flush contamination out of grout lines before protection is applied. That is especially valuable for older showers, textured tile, natural stone, move-in or move-out cleaning, and bathrooms where routine scrubbing has stopped making a visible difference.
Dream Clean Orlando helps Central Florida homeowners, landlords, and property managers restore tile and grout before sealing it for longer-lasting protection. With honest recommendations, the right process depends on whether your grout needs a simple refresh, deep cleaning, repair, or color sealing.
A sealed shower will still need weekly care, but it should not require constant hard scrubbing to look presentable. Keep the fan running after showers, use a squeegee on glass and tile when practical, and deal with small soap or mineral deposits before they become a restoration project.