Kitchen Tile Grease Removal That Actually Works
A kitchen floor can look clean right after mopping and still feel slightly tacky underfoot. That is usually not a mopping problem – it is grease that has mixed with dust, food particles, and everyday soil, then settled into the tile texture and grout lines. Effective kitchen tile grease removal means breaking up that buildup without damaging the tile, weakening grout, or leaving behind a slippery residue.
For Central Florida homes and businesses, kitchen floors work hard. Humidity, frequent cooking, busy family schedules, and high foot traffic can make grease buildup happen faster than many people expect. The good news is that most tile floors can be restored without replacement when the cleaning method matches the material and the level of buildup.
Why kitchen grease is harder to remove than regular dirt
Grease does not sit on the surface like dry crumbs or tracked-in soil. As cooking oils cool, they form a thin film that attracts dirt. Each pass with a mop may move some of it around, but an ineffective cleaner or too much dirty mop water can leave part of the film behind.
Grout is where the problem becomes more visible. Even sealed grout can gradually lose protection from foot traffic and cleaning products. Once grease reaches porous or worn grout, it holds onto dark soil and makes the entire floor look dingy around otherwise clean-looking tile.
Textured porcelain, ceramic tile with small surface pits, and natural stone need extra attention. Their uneven surfaces create small places where grease can collect. A floor may appear dull or discolored not because the tile has failed, but because a film is hiding its original finish.
Start with the right cleaner and the right amount of water
For light kitchen grease, begin by dry sweeping or vacuuming the floor. Skipping this step turns loose dirt into muddy residue once liquid cleaner is applied. Then use a pH-neutral tile cleaner or a mild degreasing product labeled for your specific tile type.
Use warm water rather than hot water from the tap, and follow the product dilution instructions. More cleaner is not always better. Overusing a degreaser can leave its own film on the floor, which attracts more soil and can make tile feel sticky after it dries.
Work in small sections with a microfiber mop or soft scrub pad, then rinse with clean water. Change the rinse water often. If the water has turned gray or cloudy, putting it back on the floor will not produce a clean result.
Avoid coating kitchen tile with oil soaps, waxes, or general-purpose products that promise extra shine. These products can create buildup, especially on porcelain and ceramic. They may also make future professional cleaning more difficult because the cleaner must remove the product film before reaching the embedded grease underneath.
Do not treat every tile surface the same
Ceramic and porcelain tile are generally durable, but grout lines remain vulnerable to harsh chemicals and aggressive scrubbing. Acidic products can also cause problems around grout, metal transitions, and certain tile finishes.
Natural stone, travertine, and limestone require more caution. Vinegar, lemon-based cleaners, and other acidic DIY solutions can etch stone and leave permanent dull spots. Strong alkaline degreasers can also be risky if they are not designed for natural stone or are left on too long. When the floor is stone, use a cleaner specifically made for stone surfaces and test it in an inconspicuous area first.
Kitchen tile grease removal methods that can cause damage
A stiff wire brush may seem like the fastest way to brighten dark grout, but it can scratch tile glaze, wear away grout, and create rough areas that trap more dirt. Powdered abrasive cleaners can have the same effect over time.
Bleach is another common shortcut with mixed results. It may lighten some surface stains, but it does not reliably remove the oily soil causing the discoloration. Repeated use can weaken grout, affect colored grout, and create strong fumes in an enclosed kitchen. Never mix bleach with ammonia, vinegar, or any other cleaner.
Steam mops can be useful for routine maintenance on appropriate sealed tile, but they are not a substitute for deep extraction. They add heat and moisture, yet many units do not provide enough pressure or recovery to flush suspended grease and dirty solution out of deep grout lines. On loose, cracked, or poorly sealed grout, excessive moisture can create additional concerns.
When mopping is no longer enough
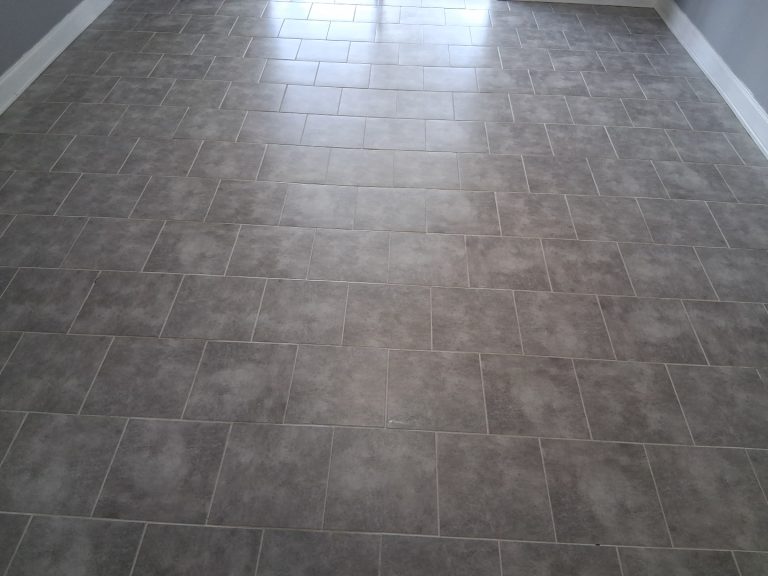
Professional kitchen tile cleaning is worth considering when the floor remains sticky after cleaning, grout stays dark, or tile looks dull no matter how often it is mopped. It is also a practical choice before listing a home, after a tenant move-out, or when a restaurant, office break room, or rental property needs a noticeably cleaner appearance.
A professional process begins with identifying the tile and grout condition. The technician applies an industrial-grade cleaning solution that is appropriate for the surface, allowing it time to loosen embedded grease and soil. Specialized agitation tools work the cleaner into textured tile and grout lines without using damaging abrasives.
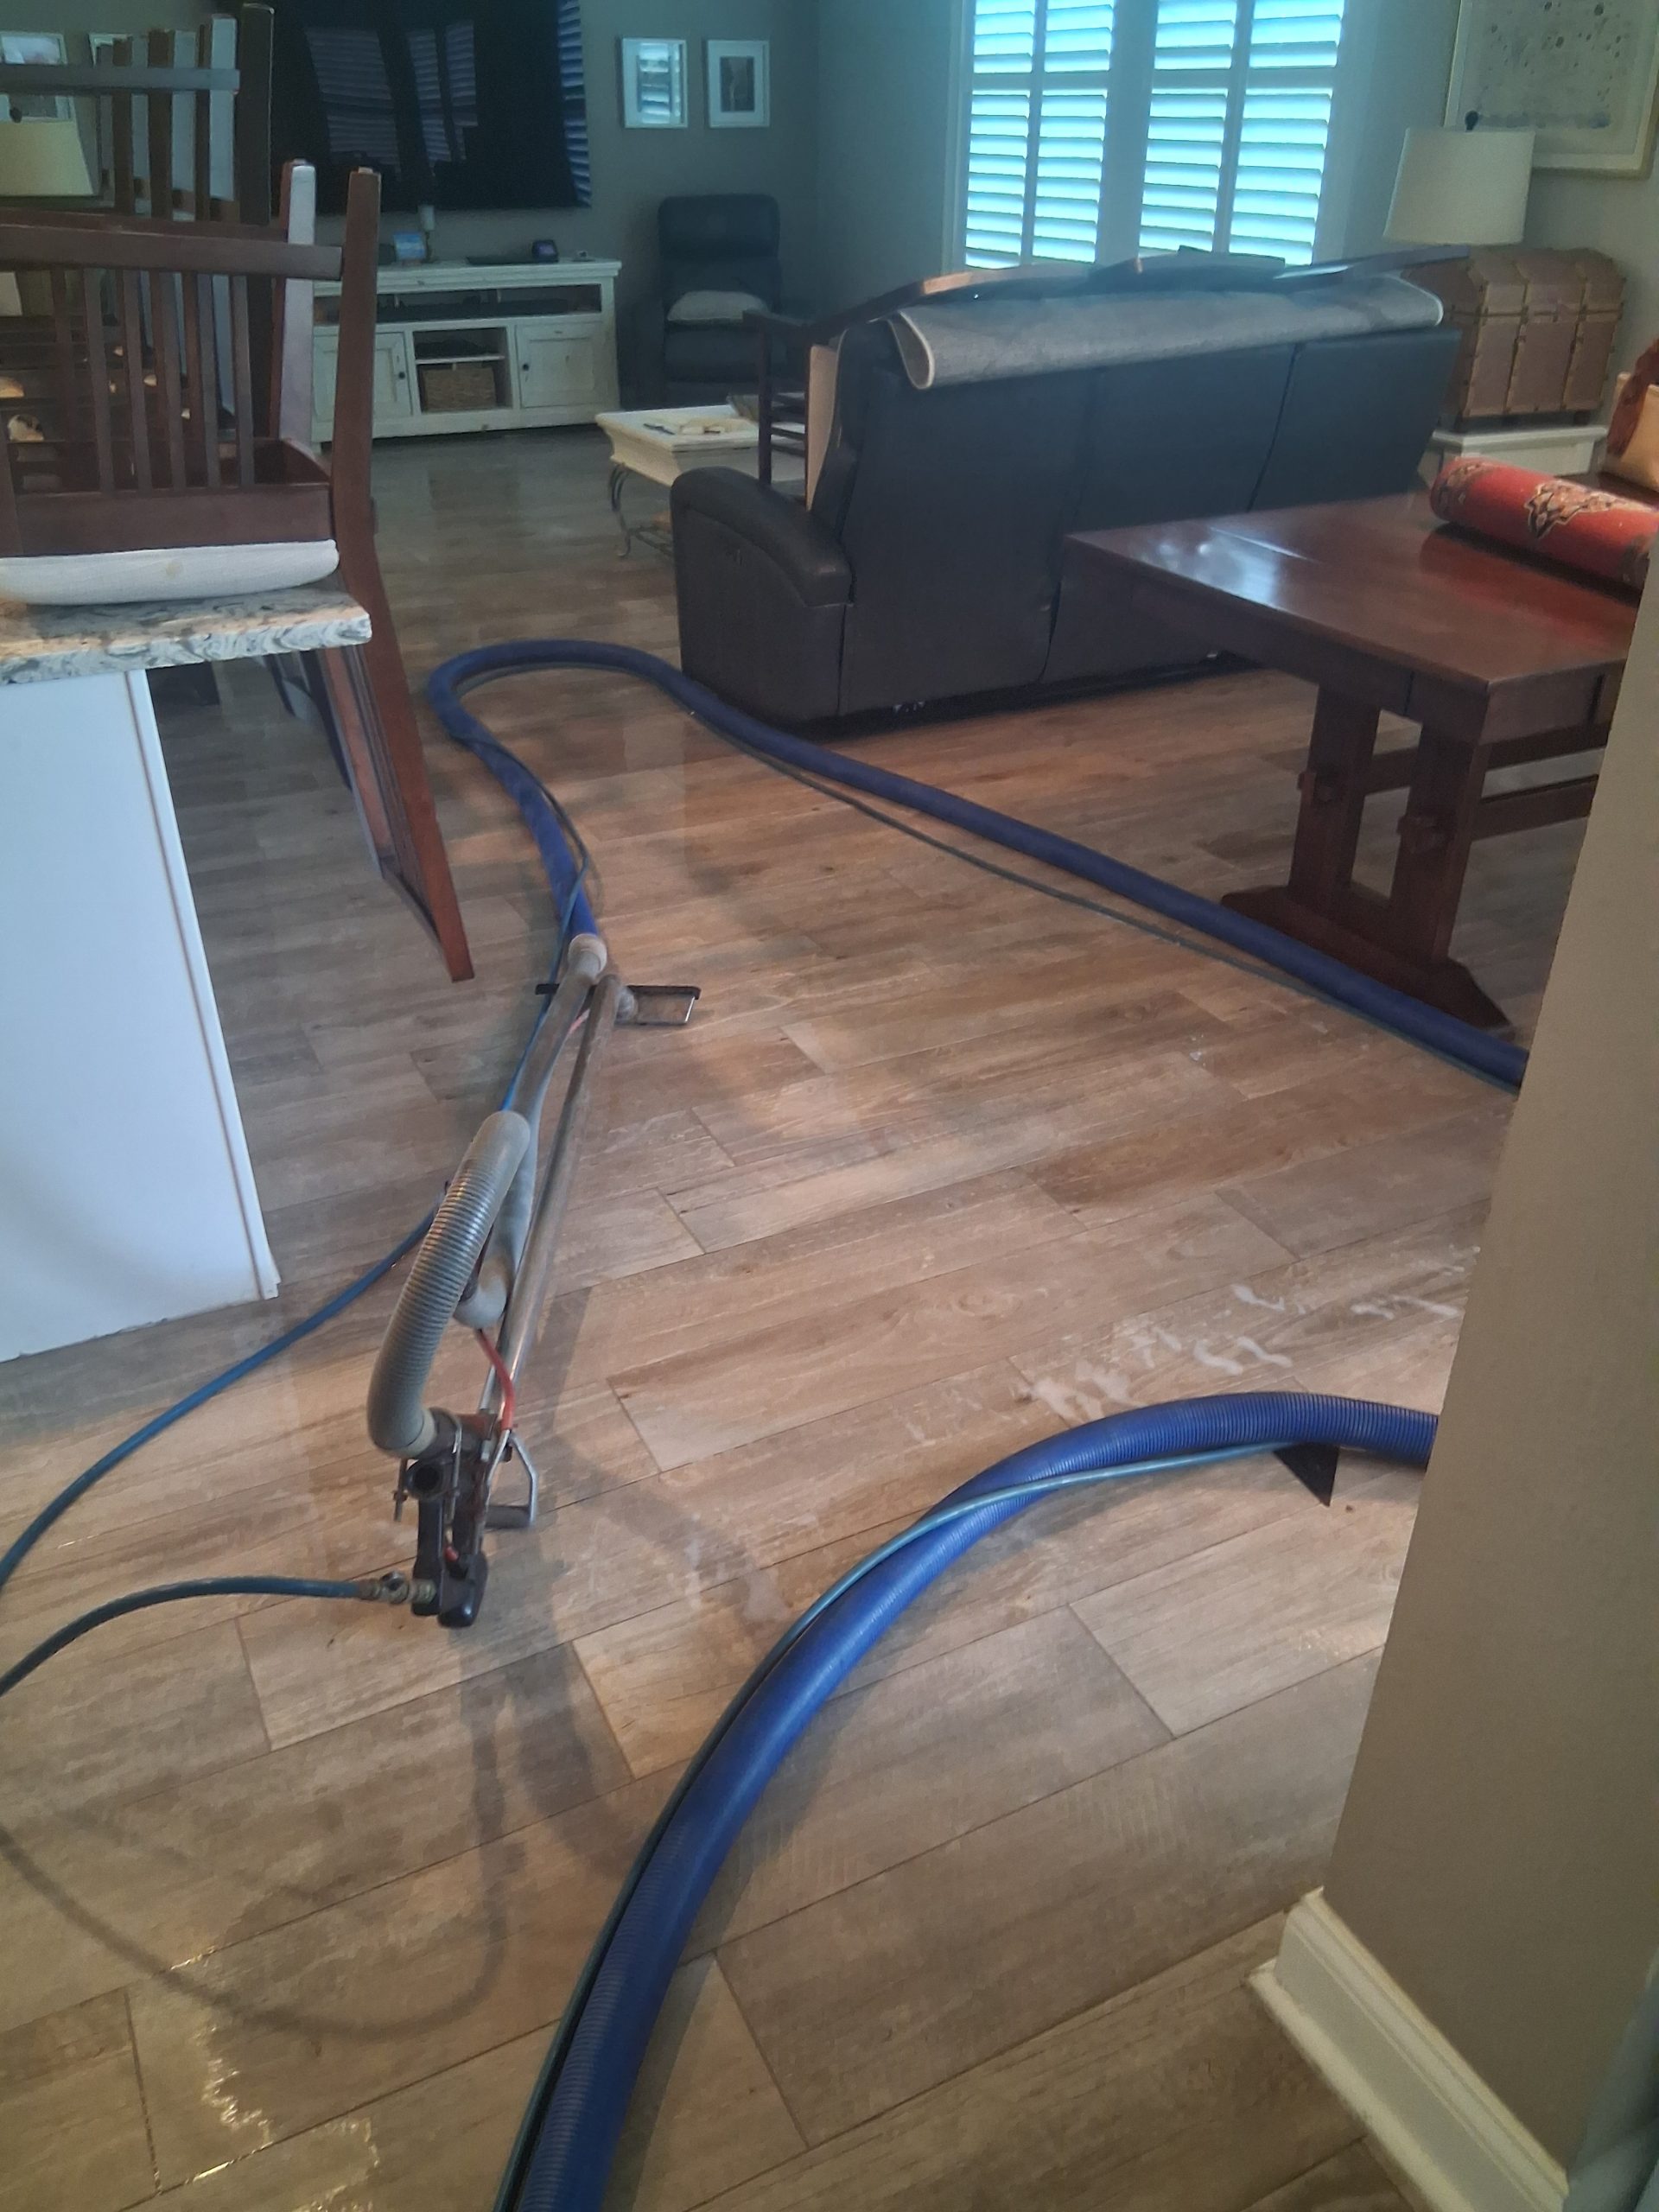
Then high-pressure steam cleaning and extraction flush the loosened material away. The extraction step matters because it removes dirty water from the floor instead of spreading it across the tile. Truck-mounted equipment can deliver the heat, pressure, and recovery needed for heavily soiled residential and commercial surfaces.
At Dream Clean Orlando, this approach is designed to bring floors back to life while treating the surface with care. Professional cleaning can improve the appearance of tile and grout dramatically, but an honest inspection also matters. Deep stains, cracked grout, failed sealers, and permanent surface damage may require grout repair, color sealing, or restoration rather than cleaning alone.
Protect grout after deep cleaning
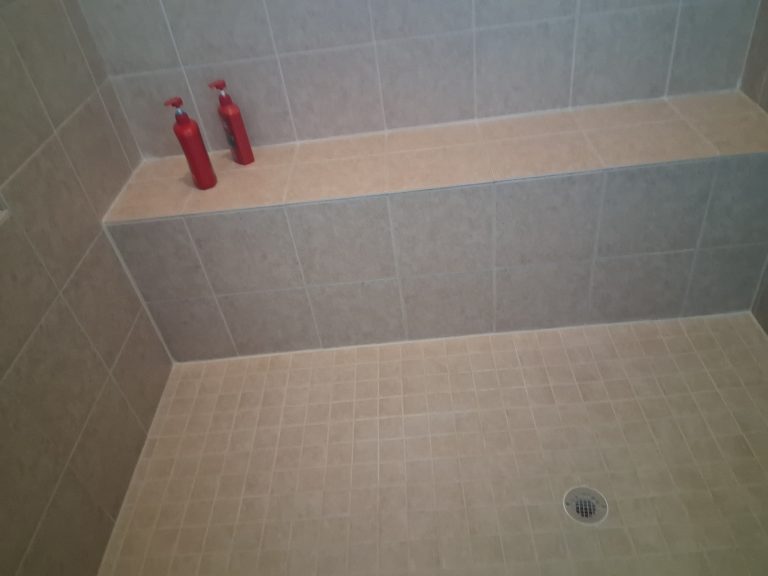
Once grease and embedded soil are removed, grout sealing helps make future maintenance easier. A quality penetrating sealer reduces how quickly liquids and oils absorb into porous grout. It does not make grout maintenance-free, but it gives spills and splatters less opportunity to become deep stains.
Color sealing is a different option for grout that remains unevenly stained or discolored after cleaning. It restores a more consistent grout color while creating a protective barrier. This can be especially helpful in older kitchens, rental properties, and high-traffic commercial spaces where replacing tile would be more disruptive and expensive.
Sealing should be applied to clean, dry grout. Applying sealer over grease or soil locks in the problem and prevents the protection from bonding properly. That is why deep cleaning comes first.
Keep grease from building up again
A simple maintenance routine goes a long way. Sweep frequently, especially near the range, refrigerator, and entry points. Wipe cooking splatters promptly, and mop with a properly diluted cleaner instead of using a heavy dose of product.
For busy households, cleaning the kitchen floor weekly and spot-cleaning spills as they happen is usually enough to control surface grease. Restaurants, shared commercial kitchens, and heavily used break rooms may need more frequent attention. The right schedule depends on cooking volume, traffic, tile texture, and whether the grout has been professionally sealed.
Pay attention to the floor’s feel as much as its color. A tacky feeling, dull haze, darkening grout lines, or a kitchen that develops odors after mopping can all signal that grease is accumulating below the surface. Addressing it early is easier, safer, and less costly than waiting until the grout appears permanently stained.
A clean kitchen floor should feel dry, look even, and support the healthy home or workplace you work hard to maintain. If routine cleaning is no longer getting there, professional deep cleaning and sealing can preserve the tile you already have and make every future cleanup more manageable.