How to Remove Grout Efflorescence Safely
A chalky white haze on otherwise clean tile is frustrating because it can make a new floor, shower, or backsplash look neglected. To remove grout efflorescence, you need to address the mineral salts on the surface without damaging the grout, tile finish, or nearby natural stone. The right approach depends on where the deposits formed, how heavy they are, and whether moisture is still moving through the installation.
What Grout Efflorescence Is – and What It Is Not
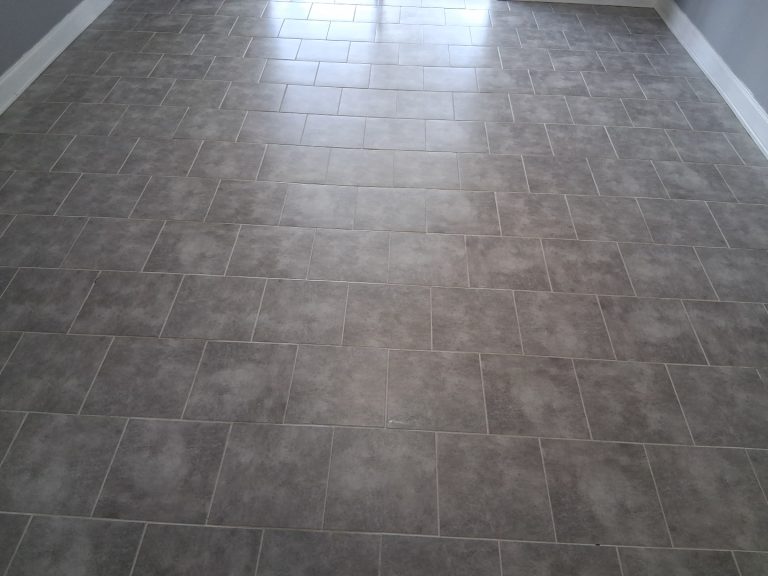
Efflorescence is a white, powdery, or crystal-like deposit that appears when moisture travels through grout, mortar, concrete, or masonry. As the water evaporates, it leaves behind soluble salts. It is especially common after new tile installation, water exposure, leaks, or repeated wetting and drying.
It is not the same as everyday dirt, soap scum, or hard-water scale. Soap residue often feels waxy or slick. Hard-water buildup usually forms on the surface of shower tile, faucets, and glass where water repeatedly dries. Efflorescence tends to come from within the grout or the material behind it, which is why it may return if the moisture source is not corrected.
In Central Florida, humidity, active showers, slab moisture, plumbing issues, and frequent mopping can all contribute. A small amount of efflorescence after a recent installation may be temporary. Heavy or recurring deposits deserve a closer look.
How to Remove Grout Efflorescence Without Damaging Tile
Start with the least aggressive method. Many light deposits can be removed without strong chemicals, and that is always the safest place to begin.
Let the Area Dry Completely
Efflorescence is easier to identify and remove when the surface is dry. Avoid cleaning immediately after a shower, leak, or wet mopping. Use ventilation, run the bathroom fan, and allow the area to dry thoroughly before working on it.
If the grout turns white again shortly after drying, moisture may still be moving through the tile assembly. Cleaning can improve the appearance, but it will not solve a leak, failed shower pan, cracked grout, missing caulk, or moisture issue beneath the flooring.
Dry Brush and Vacuum Light Deposits
For a light powdery film, use a soft nylon brush or dry microfiber cloth to loosen the material. Vacuum the residue rather than pushing it across the tile with a wet mop. A stiff wire brush can scratch glazed tile, damage grout joints, and leave metal marks, so it is not a good choice.
Once loose material is removed, wipe the tile with a damp microfiber cloth and dry it again. This simple process is often enough for mild efflorescence on ceramic or porcelain tile.
Use a Tile-Safe Cleaner for Remaining Residue
If a dry cleaning does not remove the white film, use a cleaner made for the specific tile and grout type. Follow the label directions and test a small, hidden spot first. Work in a manageable area, gently agitate grout lines with a nylon brush, then rinse and dry the surface completely.
Avoid reaching for vinegar, muriatic acid, or harsh acidic cleaners as a first response. Acid can etch natural stone, dull polished surfaces, weaken cement-based grout, and damage metal fixtures. It can also create a bigger problem if it is used too strong, left on too long, or mixed with another cleaning product.
Ceramic and porcelain tile may tolerate certain specialized efflorescence removers, but the grout condition and surrounding materials still matter. Natural stone, travertine, marble, limestone, and some decorative tiles require a more careful process. When in doubt, stop before using an acidic product.
Rinse, Extract, and Dry the Area Well
Residue left behind by cleaning solutions can attract soil and make grout look dull. After cleaning, rinse according to the product instructions and remove as much moisture as possible. A towel works for small areas. For larger floors, professional extraction is more effective because it removes suspended soil, cleaning residue, and moisture from the grout lines instead of spreading them around.
Do not seal grout while it is damp or still showing active efflorescence. Sealing too soon can trap moisture below the surface and may make recurring deposits harder to diagnose.
Why Efflorescence Keeps Coming Back
A one-time appearance does not always mean there is a serious issue. New grout and mortar can release salts as they cure, especially during the first weeks after installation. In that situation, dry removal and patience may be all that is needed.
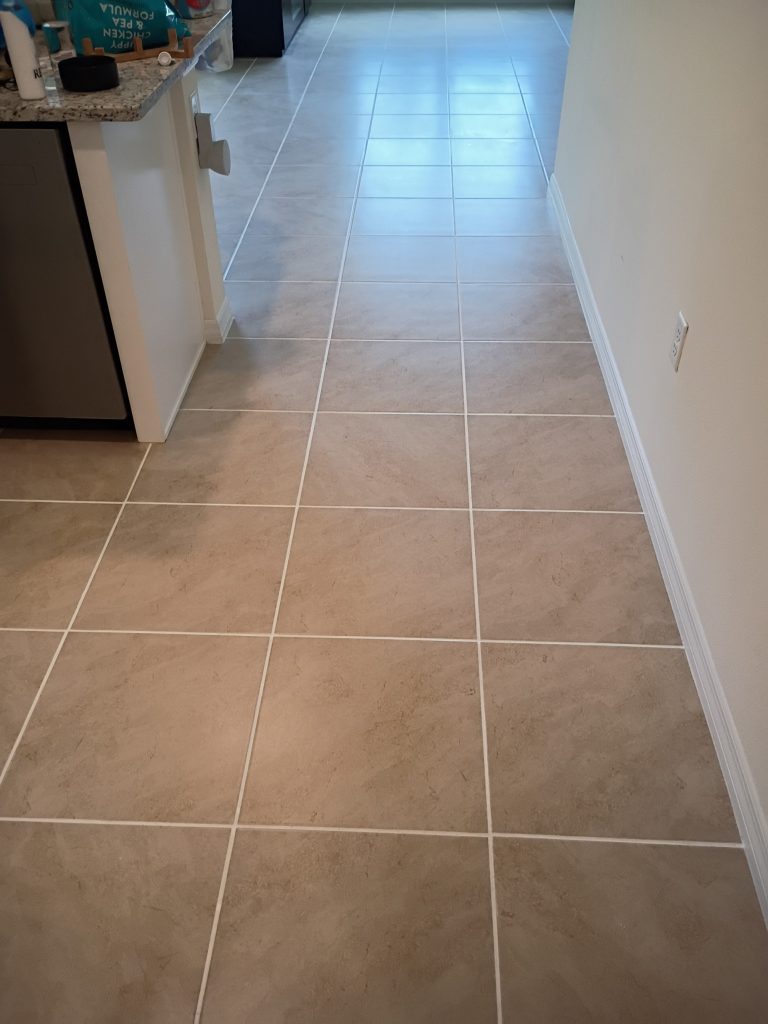
Recurring efflorescence is different. It usually means water is continuing to carry salts toward the surface. In a shower, common causes include failed caulk at corners, gaps around fixtures, cracked grout, a plumbing leak, or moisture behind the wall. On a floor, the cause could be moisture from the slab, poor drainage near an exterior entry, a dishwasher or refrigerator leak, or overly wet cleaning practices.
Grout itself is porous. It is designed to fill and support the joints between tiles, but it is not waterproof. A quality penetrating sealer helps reduce absorption after the grout is clean, dry, and stable. It does not repair a leak or replace proper waterproofing behind shower tile.
When Professional Cleaning Is the Better Choice
Store-bought cleaners work best on small, light deposits where the tile material is known and the moisture source is no longer active. Professional help makes more sense when the problem covers a large floor, returns repeatedly, appears in a shower, or is mixed with dark staining, mold, soap scum, grease, or heavy traffic soil.
A trained hard-surface cleaning team can identify whether the discoloration is likely efflorescence, mineral scale, embedded soil, or deteriorating grout. That distinction matters because each condition needs a different treatment. Using the wrong product can permanently change the color or finish of the surface.
Dream Clean Orlando uses industrial-grade solutions, specialized agitation, high-pressure cleaning, and extraction to flush soil and residue from grout lines while protecting the surrounding tile. For appropriate surfaces, professional grout sealing or color sealing can also make future cleaning easier and restore a more consistent appearance without the cost of tile replacement.
In commercial settings, recurring white buildup can be especially noticeable at entrances, restrooms, kitchens, and high-traffic corridors. Restaurants, apartment communities, offices, and medical facilities benefit from a cleaning plan that addresses both visible appearance and the moisture or maintenance conditions causing the issue.
How to Prevent Efflorescence After Cleaning
Prevention starts with moisture control, not stronger chemicals. Repair active leaks, replace failing caulk, and address cracked or missing grout before expecting a lasting result. In showers, use the exhaust fan during bathing and for a while afterward. A quick squeegee on shower walls can also reduce standing water and soap buildup.
For tile floors, avoid soaking grout with excessive mop water. Use a properly diluted neutral cleaner and change dirty water often. A dirty mop can leave residue in grout lines, while too much water can encourage moisture movement beneath or through the installation.
After the grout is fully clean and dry, ask a professional whether sealing is appropriate. Standard penetrating sealer helps protect grout from spills and soil, while color sealing can provide a renewed, uniform grout color and a more protective surface. The best choice depends on the age of the grout, its condition, the tile material, and the amount of traffic the area receives.
A white haze does not automatically mean your tile needs to be replaced. With careful cleaning, proper moisture correction, and the right protective finish, grout can look cleaner and stay easier to maintain. If the deposits keep returning or you are unsure what is on your tile, a professional evaluation can protect your flooring before a small issue becomes a costly repair.