How to Sanitize Tile Floors Safely at Home
A tile floor can look clean after a quick mop and still hold residue in the grout lines, textured surface, and low spots where dirty water settles. To sanitize tile floors safely, the goal is not to pour on the strongest chemical available. It is to remove soil first, use a disinfecting product correctly, and protect the tile, grout, people, and pets who use the space every day.
That matters in Central Florida homes and businesses, where humidity, tracked-in dirt, shower moisture, cooking grease, and high foot traffic can make tile and grout harder to maintain. A careful process delivers better hygiene without leaving behind slippery film, faded grout, or damage that costs more to repair.
Clean First, Then Sanitize Tile Floors Safely
Sanitizing and cleaning are related, but they are not the same job. Cleaning removes visible dirt, grease, soap residue, and loose debris. Sanitizing reduces certain bacteria on a surface to safer levels. If a floor is still coated with grime, a sanitizer or disinfectant may not contact the tile evenly enough to work as intended.
Start by vacuuming or sweeping thoroughly, especially along baseboards, corners, and transitions between rooms. Dry grit can scratch some tile finishes and gets pushed into grout when a wet mop is used too soon. Next, mop with a pH-neutral tile cleaner or a mild cleaning solution appropriate for your flooring.
Use clean water for the final rinse if the product calls for it. This step is often skipped, but it keeps cleaner residue from building up and attracting more dirt. Once the floor is visibly clean, you can sanitize the surface if the space or situation calls for it.
For routine household maintenance, full-floor sanitizing every day is rarely necessary. Kitchens, bathrooms, entryways, homes with young children or pets, and areas affected by illness may need more attention. In a restaurant, medical office, apartment turnover, or other commercial setting, the cleaning schedule should reflect the amount of traffic and the facility’s sanitation requirements.
Choose Products for Your Tile Type
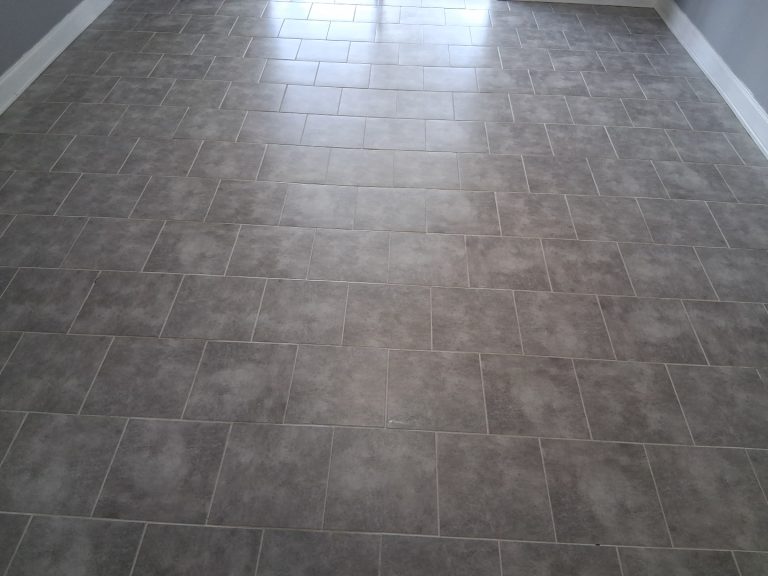
Ceramic and porcelain tile are generally durable, but grout and natural stone need more caution. The safest product is not always the strongest one. It is the one that is approved for the material, used at the right dilution, and allowed to sit for the label’s stated contact time.
A ready-to-use sanitizer or disinfectant labeled for hard, nonporous surfaces can work well on glazed ceramic or porcelain tile. Read the label before using it. Some products must remain visibly wet for several minutes to sanitize or disinfect. Spraying a floor and wiping it dry immediately may leave you with a pleasant scent but not the result the product promises.
Never assume a product is safe for every hard surface. Natural stone, including travertine, marble, limestone, and slate, can be damaged by acidic cleaners such as vinegar, lemon-based products, or many bathroom cleaners. Acid can etch the finish, dull the stone, and weaken grout around it. Bleach and highly alkaline products can also discolor some grout, strip sealers, or affect color-sealed grout.
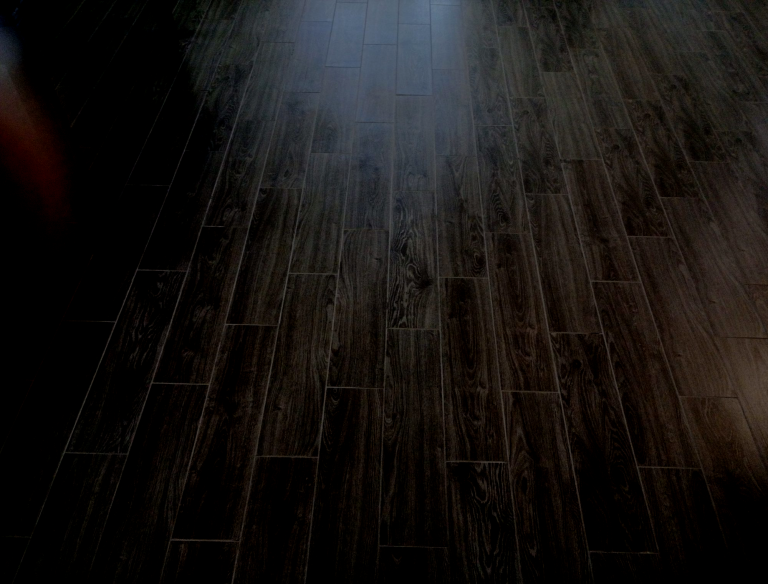
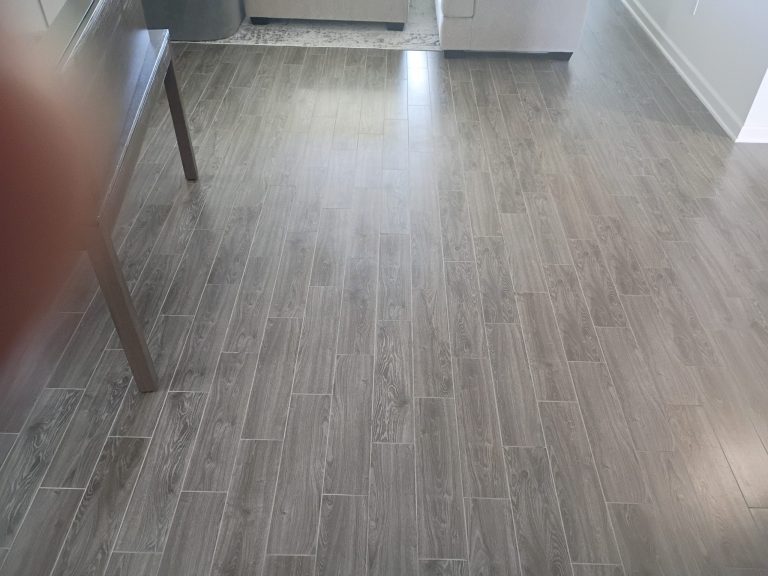
Textured tile deserves special attention because its uneven surface traps soil that a standard mop may glide over. Use a soft-bristle brush made for tile when needed, working in small sections instead of scrubbing aggressively across the whole floor.
A Safe Step-by-Step Method
After dry soil has been removed and the floor has been cleaned, work in manageable sections. Apply your chosen sanitizer according to the product label, paying attention to dilution, ventilation, and contact time. A pump sprayer or damp microfiber mop can provide more even coverage than pouring solution directly onto the floor.
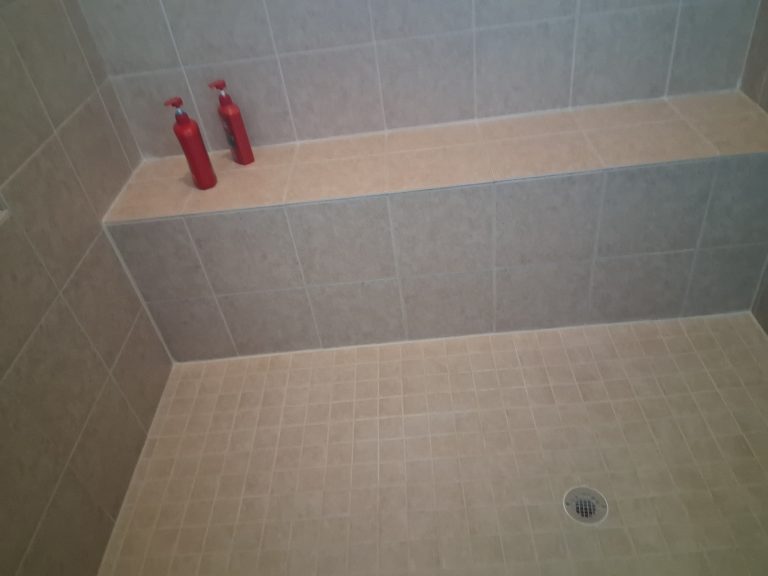
Keep the surface wet for the required time, but do not flood grout lines or let excess liquid run beneath baseboards, cabinets, or loose tile. In bathrooms, use extra care around shower thresholds and floor edges where moisture can settle.
When the required time has passed, rinse if the product label requires it. Rinsing is especially wise in homes with crawling children or pets that may lick their paws after walking across the floor. Dry the area with clean microfiber pads or allow it to air-dry with good ventilation. A dry floor is safer underfoot and less likely to collect fresh dirt quickly.
If you use a mop bucket, change the water as soon as it looks gray or cloudy. Reusing dirty mop water spreads soil from one part of the floor to another. Microfiber pads are often a better option because they pick up fine particles effectively and can be laundered between uses.
Avoid These Common Tile and Grout Mistakes
Bleach may seem like the obvious answer for brightening grout or sanitizing a bathroom, but it is not a universal tile cleaner. Repeated use can fade grout, damage protective sealers, and create harsh fumes in an enclosed room. It should never be mixed with ammonia, vinegar, acids, or any other cleaning product. Mixing chemicals can create dangerous gases.
Steam can be effective on many tile floors, but the result depends on the flooring condition and installation. Properly installed ceramic and porcelain tile typically tolerate professional steam cleaning well. However, cracked grout, loose tile, unsealed natural stone, failing caulk, and water-sensitive subfloors need an inspection before high heat or moisture is used.
Another common mistake is using too much cleaner. More product does not mean a cleaner or more sanitary floor. Excess solution leaves a tacky film, causes streaking, and may make the surface slippery. Follow label directions and use the lightest effective amount.
Finally, do not treat stained grout as proof that the floor is dirty or unsafe. Grout is porous, and years of embedded soil, mineral deposits, grease, or permanent discoloration can remain even after ordinary cleaning. That is a restoration issue, not a reason to keep applying stronger chemicals.
When Mopping Is No Longer Enough
If grout lines stay dark after you clean, floors feel sticky, or bathroom tile has persistent soap residue and hard-water buildup, it may be time for a deeper service. Routine mopping cleans the surface, but it does not extract the embedded soil that settles into porous grout and textured tile.
Professional tile and grout cleaning uses controlled heat, pressure, specialized solutions, and extraction to flush contaminants from grout lines instead of moving them around with a mop. For heavily used kitchens, showers, hallways, rental properties, restaurants, and commercial floors, this process can restore a noticeably cleaner appearance while helping improve day-to-day maintenance.
At Dream Clean Orlando, truck-mounted steam cleaning and high-pressure extraction are matched to the tile type and condition of the floor. After deep cleaning, grout sealing or color sealing can help reduce future staining and make regular cleaning easier. Sealing is especially useful in bathrooms, kitchens, entryways, and other areas that see frequent moisture or spills.
Keep the Results Going
Once tile and grout are professionally cleaned or thoroughly maintained, a simple routine protects the investment. Sweep or vacuum regularly, wipe spills promptly, and use a pH-neutral cleaner for normal mopping. Place mats at exterior doors to reduce sand and grit, but wash those mats often so they do not become a source of dirt themselves.
For showers and bathroom floors, reducing standing water makes a real difference. Run the exhaust fan, wipe down wet surfaces when practical, and address soap residue before it becomes a stubborn film. In kitchens, clean grease splatters quickly rather than allowing them to settle into grout near the stove or sink.
A sanitary tile floor should feel clean without looking hazy, smelling heavily of chemicals, or becoming slick after every mop. When stains, dull grout, or trapped buildup remain despite careful cleaning, professional restoration can give the surface a fresh start and make safe upkeep much easier from there.