How to Prevent Bathroom Grout Staining for Good
A bathroom can look freshly cleaned while the grout lines still tell a different story. Darkened corners, orange hard-water marks, mildew spots, and gray traffic paths can make tile look older than it is. To prevent bathroom grout staining, the goal is not harsher scrubbing every weekend. It is stopping moisture, body oils, soap residue, and minerals from settling into grout before they become embedded.
Grout is naturally more porous than tile, especially if it was never properly sealed or if its sealer has worn away. In Orlando and across Central Florida, humidity can make the problem worse. A shower that stays damp for hours gives mildew and mineral residue plenty of time to build up, while busy bathroom floors collect residue from bare feet, hair products, and cleaning products that leave a film behind.
Why Bathroom Grout Stains So Easily
Tile is usually the easy part to clean because its finished surface is relatively smooth. Grout is different. Most cement-based grout contains tiny pores that absorb moisture and contaminants. Once soap scum, shampoo, hard-water minerals, or mildew work into those pores, ordinary mopping often cleans only the top surface.
Bathroom grout staining is not always caused by poor housekeeping. Some homes have hard water that leaves mineral deposits behind after every shower. Others have older grout, damaged caulk, poor ventilation, or a textured tile surface that holds more residue. White and light-colored grout can also show discoloration faster, even when the bathroom is cleaned regularly.
The best maintenance plan depends on where the grout is located. Shower walls need more moisture control than a guest bathroom floor. A heavily used family bathroom needs more frequent care than a powder room. Understanding that difference helps you clean efficiently without overusing products that can damage grout or weaken sealer.
The Daily Habits That Prevent Bathroom Grout Staining
The most effective grout protection often takes less than a minute. After showering, use a squeegee or clean microfiber towel to remove water from tile walls, glass, and the shower floor. This limits the moisture that feeds mildew and reduces the minerals left behind when water dries.
Run the exhaust fan during showers and leave it on for at least 20 minutes afterward. If the bathroom has a window, opening it when weather allows can help lower humidity as well. The fan is not just for odors. It is one of the simplest tools for keeping shower grout drier between uses.
On bathroom floors, quickly wipe up toothpaste, makeup, hair dye, self-tanner, and spilled products. These are common sources of stubborn grout discoloration because they can soak in before anyone notices. A bath mat should also be lifted and allowed to dry regularly. When a damp mat stays in one place for days, it can trap moisture against the tile and leave darkened grout lines underneath.
Use a pH-neutral tile and grout cleaner for regular maintenance rather than a soap-heavy floor cleaner. Many common cleaners leave behind a sticky residue that attracts more soil. A clean microfiber mop and fresh water are often better than repeatedly applying too much product.
Avoid Cleaners That Create More Problems
When grout begins to look dull or stained, it is tempting to reach for strong bleach, vinegar, or abrasive powders. These may seem to work at first, but repeated use can cause problems.
Bleach may lighten surface discoloration, yet it does not always remove what is deep in the grout. Overuse can also weaken grout and damage surrounding surfaces or finishes. Vinegar is acidic, which makes it a poor choice for natural stone and potentially harmful to some grout over time. Abrasive powders and stiff wire brushes can scratch tile, roughen grout, and make future buildup easier to collect.
A better approach is to match the cleaner to the surface and the stain. Soap scum, mineral buildup, mildew, and oily residue do not respond to exactly the same treatment. If the tile is natural stone, travertine, or another sensitive material, use products specifically made for that surface. When in doubt, test a small hidden area first.
Seal Grout Before It Can Absorb Stains
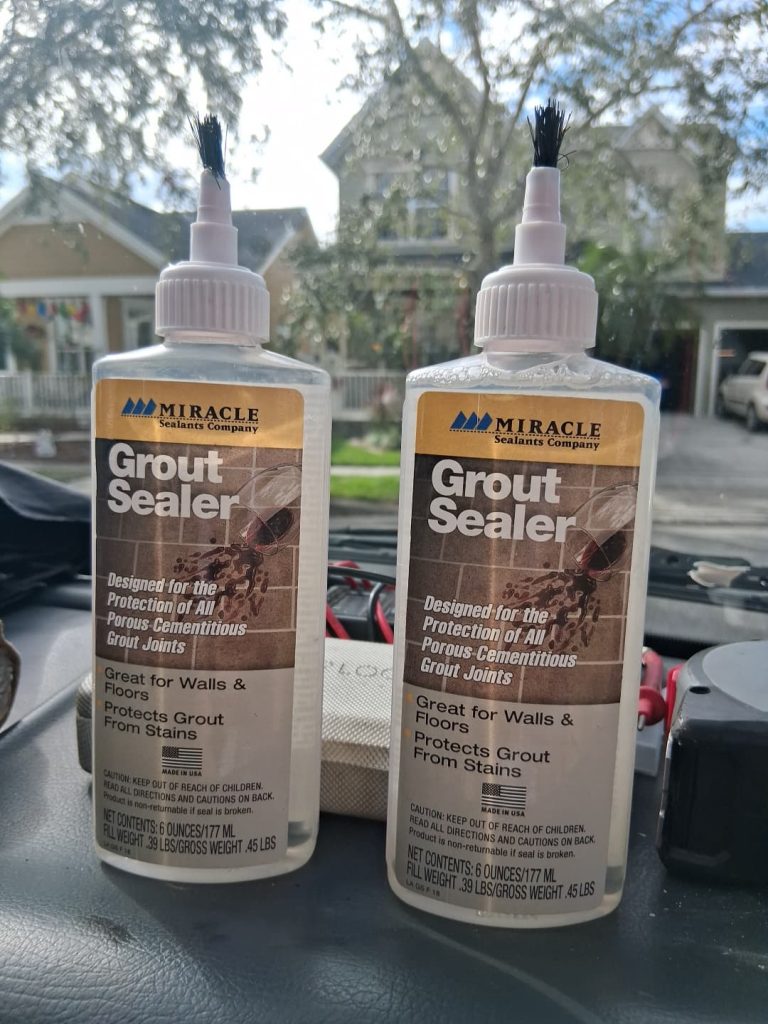
Sealing is one of the most reliable ways to prevent bathroom grout staining, but it only works when the grout is clean and dry before the sealer is applied. Sealer does not cover stains. It creates a protective barrier that slows absorption, giving you more time to wipe away water, spills, and residue.
Penetrating grout sealers are commonly used in bathrooms because they soak into porous grout rather than leaving a thick coating on top. The exact lifespan varies with the product, traffic, cleaning habits, and shower use. A floor in a lightly used bathroom may stay protected longer than a shower floor used by several people every day.
You can perform a simple water test to see whether protection may be fading. Place a few drops of water on a clean grout line. If the water beads briefly, the sealer may still be working. If it darkens the grout right away or soaks in quickly, it is time to consider resealing after a thorough cleaning.
For older grout with widespread discoloration, color sealing can be a practical restoration option. Instead of replacing sound grout, a professional can clean it, repair damaged areas, and apply a durable color seal that refreshes the appearance while adding protection. This is especially useful when grout has uneven staining that standard cleaning cannot fully reverse.
Keep the Shower Dry Where It Matters Most
Shower corners, lower wall tiles, grout around niches, and the shower floor are the highest-risk areas. Water naturally settles there, and body wash, conditioner, and shaving products add a greasy film that holds dirt in place.
Give these zones a little extra attention during weekly cleaning. Apply an appropriate bathroom tile cleaner, let it sit only as long as directed, then gently agitate grout lines with a soft grout brush. Rinse thoroughly so cleaner does not remain in the pores, and dry the area as much as possible afterward.
Also inspect caulk around tubs, shower pans, fixtures, and corners. Caulk is not grout, and cracks should not simply be scrubbed harder. Failed caulk can allow water behind tile, creating a moisture issue that cleaning alone cannot solve. If grout is crumbling, loose, or cracked, repairs should be made before sealing.
When Routine Cleaning Is No Longer Enough
There is a point where regular mopping and scrubbing cannot reach the soil trapped below the grout surface. If grout still looks dark after cleaning, if the bathroom has recurring mildew, or if white haze and orange mineral deposits keep returning, professional restoration can save time and prevent unnecessary tile replacement.
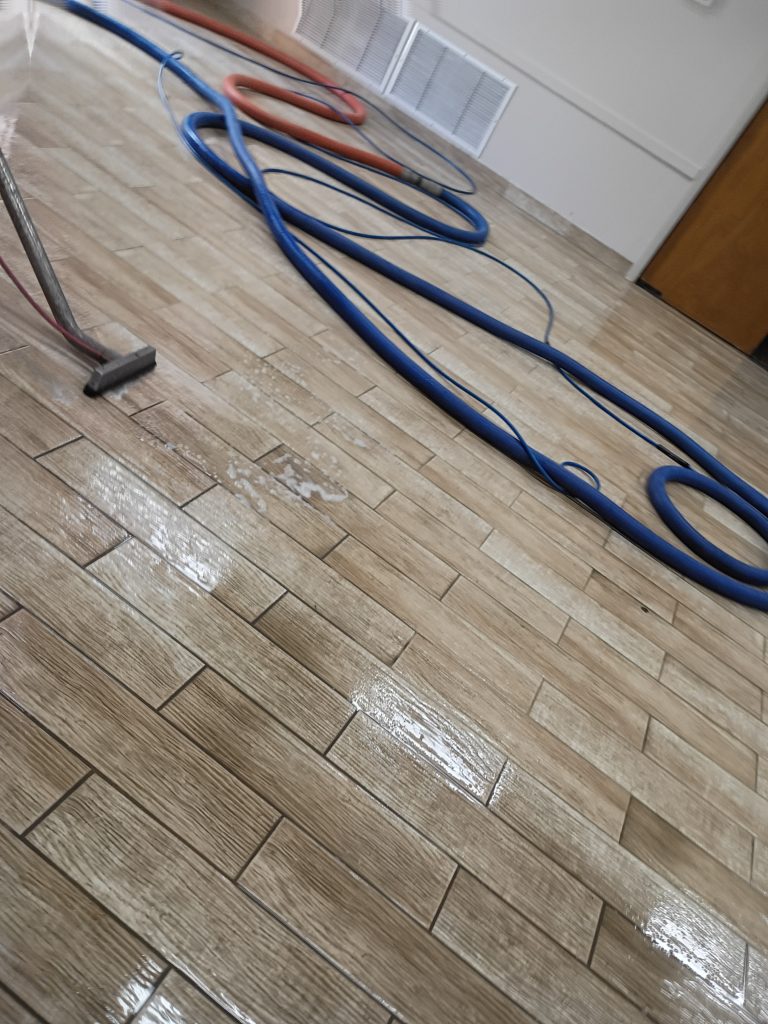
Professional tile and grout cleaning uses commercial solutions, specialized agitation, high heat, pressure, and extraction to flush residue from grout lines instead of spreading it around the floor. For bathroom surfaces, the right process matters. Too much pressure, the wrong chemical, or poor rinsing can create damage rather than a clean result.
Dream Clean Orlando restores bathroom tile and grout with professional-grade equipment, careful surface evaluation, and protective sealing options designed for the way Central Florida homes are used. This can be especially helpful before listing a home, after a tenant move-out, or when an older bathroom needs a cleaner appearance without the cost of renovation.
Build a Maintenance Schedule You Can Actually Keep
A practical routine is better than an ambitious plan that gets skipped. Squeegee shower surfaces after use, wipe obvious spills as they happen, and clean bathroom tile weekly with the right product. Check grout and caulk monthly for darkening, cracks, or areas that stay damp. Schedule deeper cleaning and evaluate the sealer when water begins absorbing quickly or routine care stops producing a clean, even look.
Clean grout changes more than the appearance of a bathroom. It helps the room feel cared for, reduces the conditions that encourage mildew, and protects the value of tile you already own. A few consistent habits, plus professional help when buildup gets ahead of you, can keep those grout lines looking cleaner for much longer.