How to Clean Textured Tile Without Leaving Dirt Behind
A textured tile floor can look freshly mopped and still feel gritty under bare feet. That is because the raised surface, small pits, and grout edges hold onto soil that a mop glides right over. Knowing how to clean textured tile properly means cleaning inside those low spots, then removing the loosened dirt instead of spreading it across the floor.
Textured porcelain, ceramic, travertine, and stone tile are popular throughout Central Florida because they add grip and visual character. The trade-off is that they need a more deliberate cleaning routine than smooth tile. With the right products, tools, and technique, you can keep the surface looking cleaner between professional deep cleanings without wearing down the finish or discoloring the grout.
Why textured tile stays dirty after mopping
A traditional mop works well on a flat surface, but textured tile is not flat. Its grooves catch cooking grease, tracked-in sand, pet hair, soap residue, and fine dust. In humid Orlando-area homes, moisture can also make this buildup cling more firmly to floors and shower walls.
The problem gets worse when dirty mop water is reused. Instead of extracting soil from the texture, the mop pushes gray water into the small crevices and grout lines. As the floor dries, residue remains behind. This is why tile may look hazy, dull, or darker around its edges even after regular cleaning.
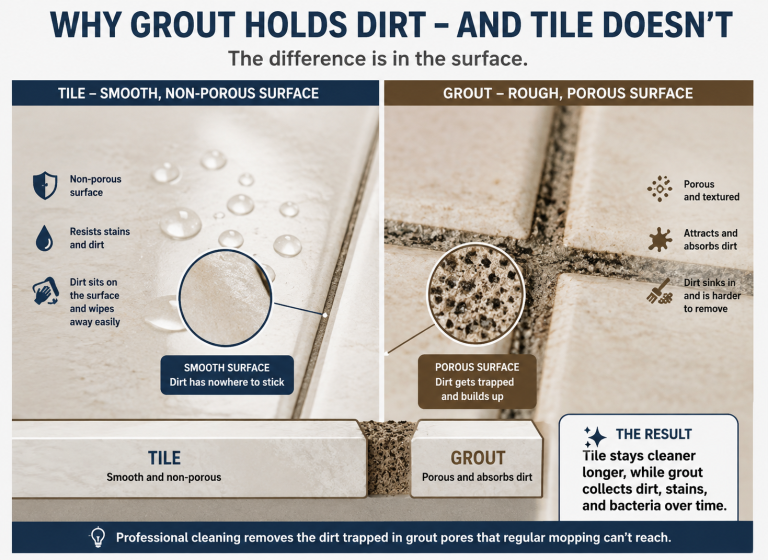
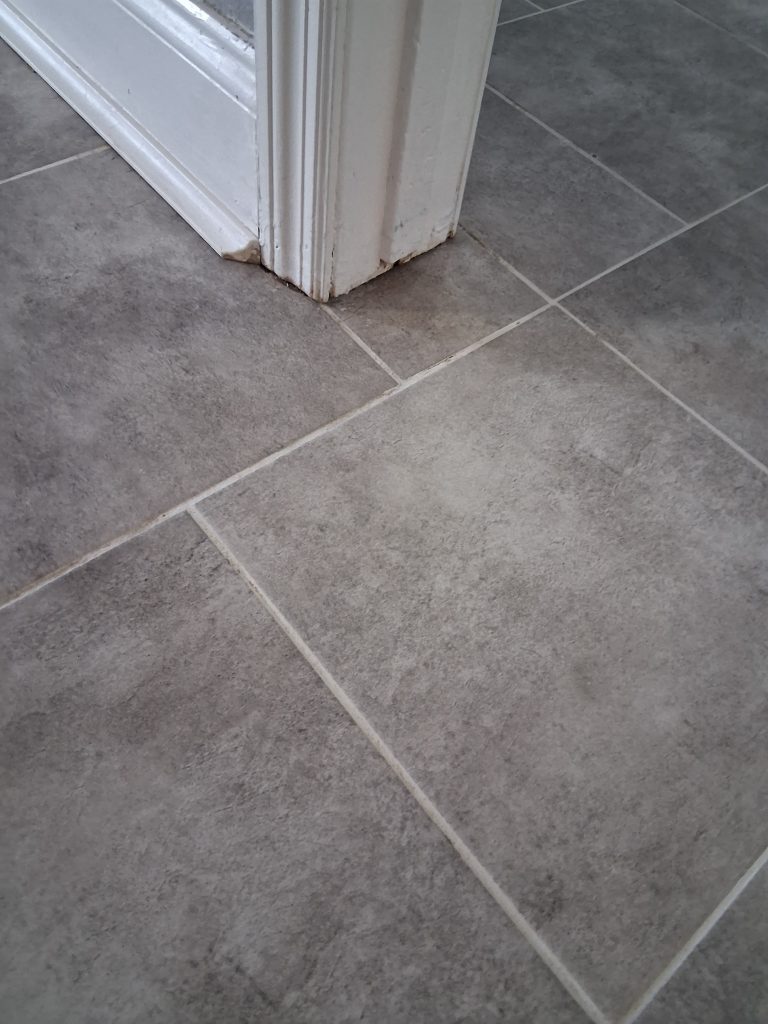
Grout is another factor. Most grout is porous unless it has been properly sealed, so it absorbs spills and dirt more readily than tile. A clean tile surface surrounded by dark grout can make the whole room look neglected, even when the floor has been maintained.
How to clean textured tile at home
The safest method depends on the tile material and the type of buildup. Porcelain and ceramic are generally more forgiving than natural stone. Travertine, marble, limestone, and other natural stone surfaces need a pH-neutral cleaner made for stone. Acidic cleaners, vinegar, and harsh bathroom products can etch or dull those surfaces.
Start with dry soil removal
Vacuum or sweep before using any liquid cleaner. This step matters more than many homeowners realize. Sand, crumbs, and loose grit can turn into muddy residue once wet, and abrasive particles can scratch some tile finishes over time.
Use a vacuum with a hard-floor setting or a soft broom that can reach along the grout lines. In kitchens, entryways, and pet areas, dry cleaning two or three times a week prevents heavy soil from settling into the texture.
Apply the right cleaner and let it work
Choose a pH-neutral tile cleaner or a manufacturer-approved product for your specific flooring. For ceramic or porcelain tile with everyday soil, a diluted neutral cleaner and warm water are usually enough. For greasy kitchen floors, use a tile-safe degreaser according to the label directions.
Apply the solution in a manageable section rather than soaking the entire floor. Give it a few minutes of dwell time so it can loosen soil in the textured surface. Do not let cleaning solution dry on the tile. A dried product film can leave floors cloudy and can attract more dirt afterward.
Agitate the texture, not just the surface
A soft nylon brush is the key tool for textured tile. Work in small sections with light to moderate pressure, moving in several directions so the bristles reach into the recessed areas. A microfiber scrub pad can also work well on durable porcelain or ceramic, but avoid overly aggressive pads that may damage a matte finish.
For grout lines, use a grout brush with stiff nylon bristles. Avoid wire brushes. They can scratch tile, chip grout, and create small areas where future staining takes hold more easily.
In a shower, focus on corners, lower wall sections, and areas around fixtures. Soap scum and body oils collect there, especially on textured wall tile. If mineral deposits from hard water are part of the problem, use a product approved for the tile material. Never assume a hard-water remover is safe for natural stone.
Rinse and remove the dirty water
This is the step that separates a cleaner-looking floor from a truly cleaner one. After scrubbing, rinse the section with clean water and pick up the slurry with a wet-dry vacuum, clean microfiber towels, or a well-rinsed microfiber mop. Change water often.
Do not use the same bucket of gray water from one end of the room to the other. If the rinse water is dirty, it will settle back into the tile’s texture as it dries. For larger floors, working in sections keeps the process manageable and prevents residue.
Finish by drying the surface with clean towels or allowing good airflow. On floors, a dry microfiber mop can help lift remaining moisture from grout lines and textured areas.
What not to use on textured tile
Many common cleaning shortcuts create more work later. Oil-based soaps and some “shine” products can leave a slippery film that catches dust in textured surfaces. Too much detergent does the same thing, even if the floor initially looks clean.
Avoid mixing cleaners, especially bleach with ammonia or acidic products. The fumes can be dangerous, and mixed chemicals can damage finishes or grout. Bleach may lighten some stains, but repeated use can weaken grout and does little to remove embedded grease or mineral buildup.
Vinegar is another product that deserves caution. It may be acceptable for limited use on certain glazed ceramic or porcelain tile, but it should not be used on natural stone, unsealed grout, or unknown surfaces. When in doubt, use a neutral cleaner and test a small hidden area first.
When routine cleaning is not enough
If your textured tile still looks dark, sticky, or uneven after careful scrubbing, the issue may be embedded soil below the surface. Grout that stays brown or black after cleaning may be stained, poorly sealed, or carrying years of absorbed contaminants. In showers, persistent white crust, orange buildup, or dark discoloration can signal hard-water minerals, soap residue, mildew, or a combination of all three.
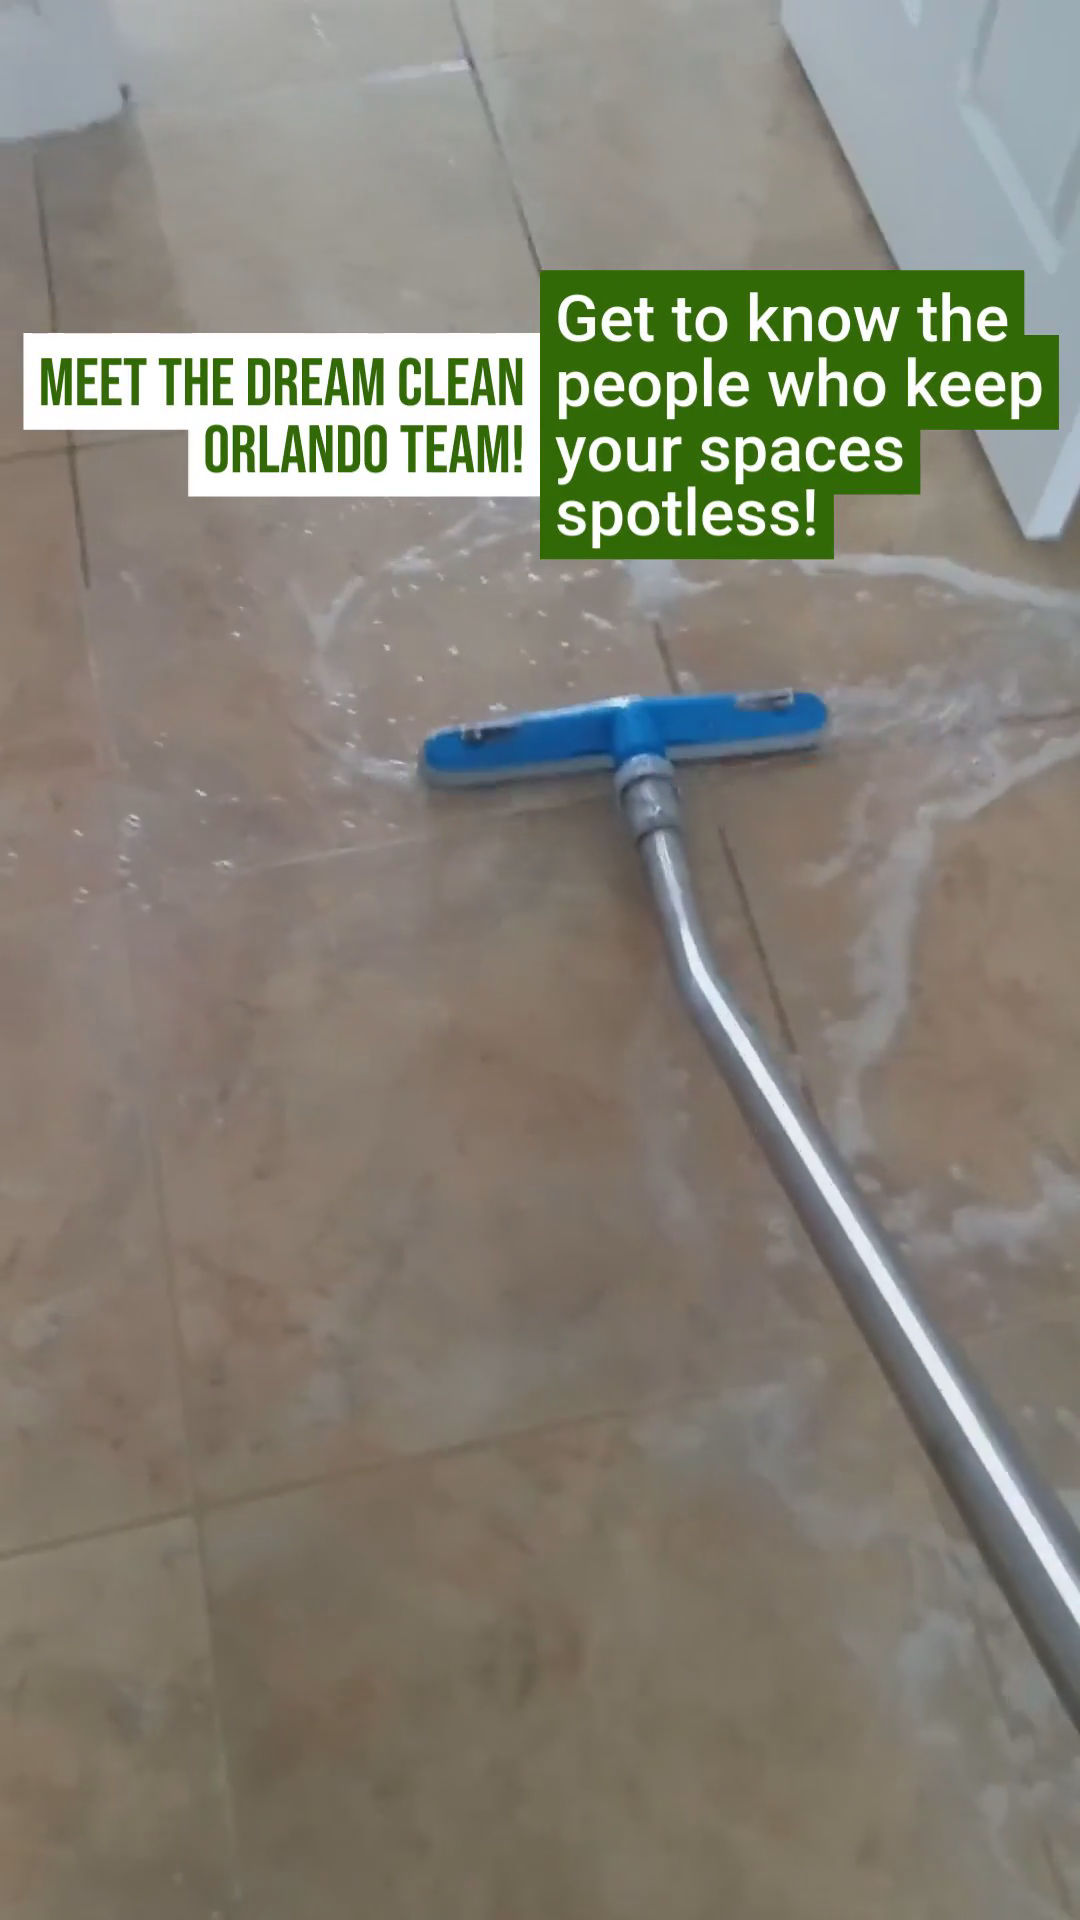
This is where professional extraction makes a visible difference. A professional tile and grout cleaning process uses industrial-grade solutions to break down the buildup, followed by high heat, pressure, and extraction to flush soil out of grout lines and textured tile. The important part is extraction. Loosening dirt without removing it can leave residue behind.
At Dream Clean Orlando, truck-mounted steam cleaning and high-pressure extraction are used to restore tile and grout without the guesswork of harsh household chemicals. This approach is especially helpful for large kitchens, heavily used bathrooms, rental turnovers, restaurant floors, and commercial spaces where regular mopping cannot keep up with traffic.
Protect textured tile after deep cleaning
Once the floor is clean, keeping it that way becomes easier. A quality grout sealer helps reduce absorption from spills, tracked-in dirt, and everyday moisture. It does not make grout maintenance-free, but it gives you more time to wipe up messes before staining sets in.
Grout color sealing can be a practical option when grout is permanently discolored but still structurally sound. It creates a more uniform appearance while adding a protective barrier. If grout is cracked, missing, or crumbling, repair should come before sealing.
Use entry mats at exterior doors, especially during rainy weather and in sandy areas. Wipe spills promptly, vacuum regularly, and clean with a lightly damp microfiber mop instead of saturating the floor. For showers, a quick squeegee after use reduces the soap and mineral deposits that settle into textured tile.
A cleaner floor should not require endless scrubbing
Textured tile is built to be durable, but it is also built with places for dirt to hide. A neutral cleaner, nylon agitation, clean rinse water, and proper extraction will make a bigger difference than simply mopping more often. When the texture and grout have reached the point where home cleaning no longer changes the appearance, professional restoration can bring the floor back to a cleaner, more maintainable condition – without the cost and disruption of replacement.