How to Remove Tile Haze Without Damaging Tile
A tile floor can be freshly mopped and still look cloudy, streaked, or dull when sunlight hits it. Knowing how to remove tile haze starts with identifying what is actually sitting on the surface. A haze left after grout installation needs a different approach than soap scum in a shower, hard-water minerals around a bathroom floor, or detergent residue from years of mopping.
The wrong cleaner can make the problem worse, especially on natural stone, travertine, or textured tile. Start with the mildest effective method, work in small areas, and avoid abrasive shortcuts that can leave permanent scratches or strip protective sealers.
What Tile Haze Is and Why It Keeps Coming Back
Tile haze is a thin film that changes the way light reflects off the floor or wall. It may look white, gray, cloudy, chalky, or oily. In a newly tiled room, it is often grout haze – fine cement-based residue left behind when grout was not fully cleaned from the tile face before it cured.
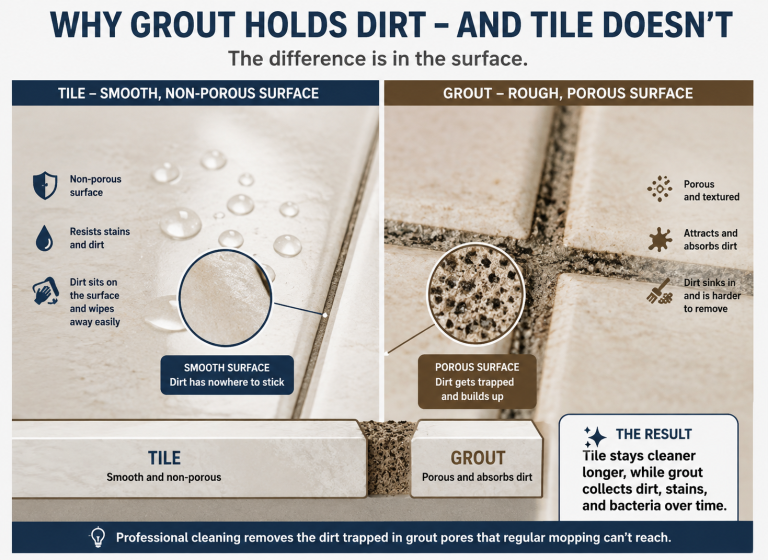
In established homes and commercial spaces, haze is more often a buildup problem. Central Florida hard water can leave mineral deposits, while bathrooms collect soap residue and body oils. Kitchen floors may hold grease and cleaner residue. Standard mopping often moves these contaminants around instead of fully removing them, particularly from textured tile and grout lines.
The source matters because acidic products may help with certain mineral deposits or cured cement haze on acid-safe tile, but they can etch natural stone and damage some finishes. Strong alkaline degreasers can cut kitchen film, yet leave their own residue if they are not thoroughly rinsed and extracted.
How to Remove Tile Haze Safely
Before using any cleaner, sweep or vacuum the area thoroughly. Dry grit can scratch tile when you begin scrubbing. Then test your method in an inconspicuous spot, such as behind a toilet, inside a closet, or along a room edge.
Start With Warm Water and a Clean Microfiber Pad
For light haze caused by leftover cleaner or everyday soil, warm water and a clean microfiber mop may be enough. Use only a lightly damp pad, not a soaking-wet string mop. Change the water and rinse the pad frequently so you are lifting the film instead of spreading it across the floor.
Dry the tile with a fresh microfiber towel after cleaning. If the haze disappears while wet but returns once the floor dries, there is still residue present. Repeat with fresh water before reaching for a stronger product.
Use a Neutral Tile Cleaner for Routine Film
If water alone does not clear the surface, use a pH-neutral cleaner made for your tile type. This is usually the safest choice for ceramic and porcelain tile, as well as sealed natural stone. Follow the product dilution instructions carefully. More cleaning solution does not mean a cleaner floor – excessive product is one of the most common reasons tile develops a dull, sticky-looking film.
Apply the cleaner to a manageable section, allow a short dwell time, then agitate gently with a soft nylon brush or microfiber pad. Rinse with clean water and dry the surface. Avoid steel wool, scouring powders, and harsh scrub pads. They may remove the haze, but they can also scratch glazed tile and leave a finish that attracts dirt more quickly.
Address Grout Haze With the Right Product
New grout haze can be stubborn because it is made from cement and fine grout particles. On ceramic and porcelain tile, a grout-haze remover designed for the specific grout type can be effective. Always read the label and confirm that the cleaner is safe for your tile.
Do not use an acidic grout-haze remover on marble, travertine, limestone, terrazzo, or other acid-sensitive stone. Acid can create dull spots and etching that look worse than the original haze. If you are not certain what material you have, stop before applying a strong cleaner. A professional can identify the surface and use the correct restoration method.
Work in small sections so the product does not dry on the tile. Agitate gently, rinse completely, and extract or towel-dry the area. Leftover chemical residue can create another haze, even after the grout residue is gone.
Treat Soap Scum and Hard-Water Buildup Carefully
Bathroom tile often has a different kind of haze. Soap scum feels slick or waxy, while hard-water deposits can feel rough, crusty, or chalky. A tile-safe cleaner that targets mineral buildup may help on ceramic and porcelain surfaces, but shower tile requires extra caution because many showers include natural stone accents, decorative inlays, or damaged grout.
Never assume that a product safe for a glass shower door is safe for tile and grout. Repeated use of harsh acids can weaken grout, remove sealers, and damage stone. For light buildup, a neutral cleaner and soft brush are the safest starting point. Persistent white scale, darkened grout, or cloudy stone usually calls for a more specialized cleaning process.
Common Mistakes That Make Tile Look Duller
A clean-looking floor can become hazy again within days if the underlying cleaning method is the problem. Avoid combining cleaning chemicals. Mixing products can create harmful fumes or leave unpredictable residue. Bleach is also not a catch-all tile cleaner. It may brighten a stain temporarily, but it does not remove embedded soil, grease, or mineral buildup effectively.
Another mistake is using too much water on dirty grout. Water can carry soil into porous grout lines, particularly if the grout is unsealed or the floor is not extracted afterward. Steam alone is not always the answer either. Heat can loosen soil, but the loosened residue still needs to be flushed out and removed.
For natural stone, skip vinegar, lemon juice, and acidic bathroom cleaners. These household shortcuts can etch the surface and permanently change its sheen. What looks like haze may actually be etched stone, worn sealer, or a factory finish affected by improper cleaning. Those issues need professional evaluation rather than another round of stronger chemicals.
When DIY Cleaning Is Not Enough
If the tile remains cloudy after proper rinsing, the haze may be embedded in texture, grout pores, or worn surface coatings. This is common in kitchens, entryways, rental properties, restaurant floors, and showers that have seen years of traffic and routine mopping. It can also happen after a renovation, when grout residue has cured too long or construction dust has settled into every joint.
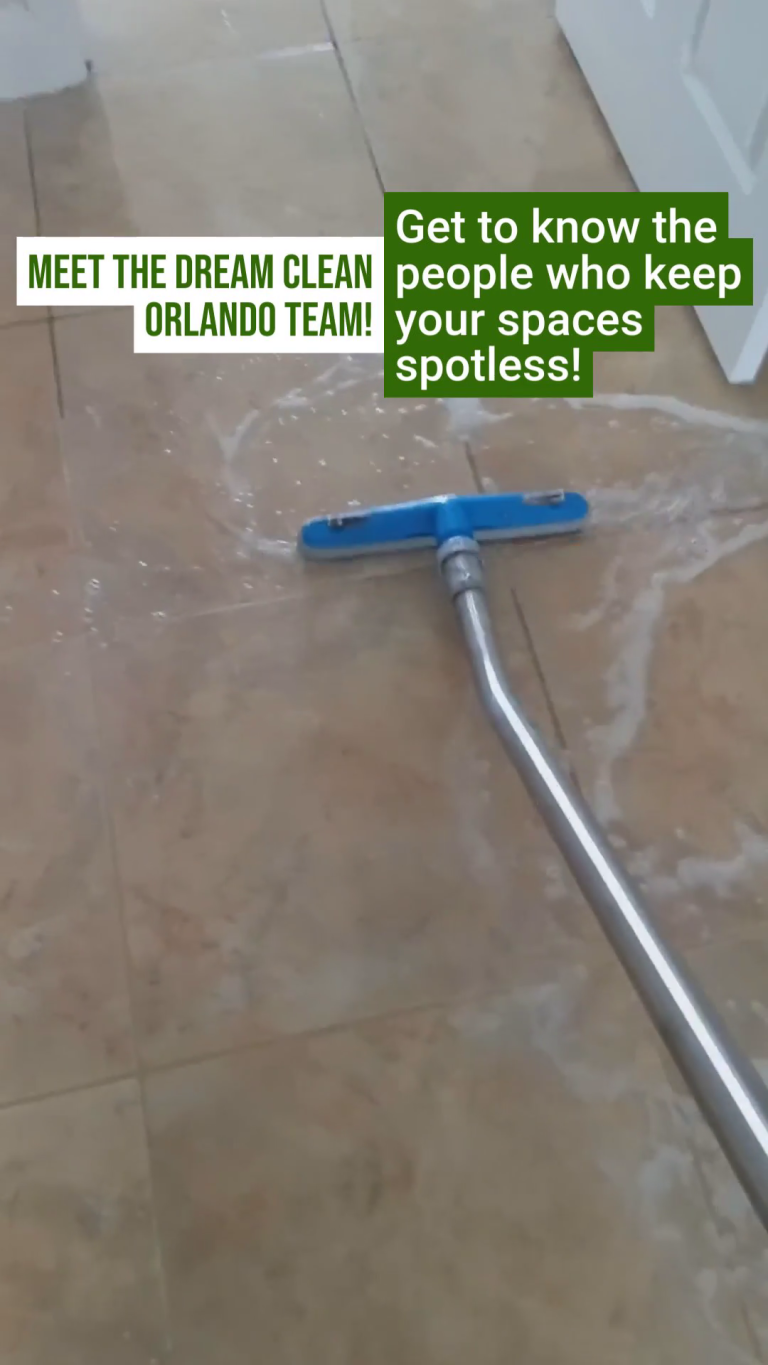
Professional tile and grout cleaning uses controlled heat, pressure, cleaning solutions, and high-powered extraction to lift contaminants instead of leaving them behind. The extraction step is what makes a real difference. Soil, dissolved minerals, grease, and wastewater are removed from the floor rather than redistributed with a mop.
At Dream Clean Orlando, truck-mounted steam cleaning and high-pressure extraction are matched to the surface and soil condition. This approach can restore ceramic, porcelain, textured tile, travertine, and other hard surfaces while protecting grout and avoiding unnecessary replacement. After deep cleaning, grout sealing or color sealing may be recommended to help reduce future staining and make routine maintenance easier.
Keep Tile Clear After the Haze Is Gone
Once the surface is restored, simple habits help preserve the result. Sweep regularly so grit does not grind into the finish. Mop with a properly diluted neutral cleaner, use clean water, and change dirty pads often. In showers, remove standing water after use and address soap residue before it hardens.
For high-traffic floors, professional cleaning on a regular schedule can prevent buildup from becoming a restoration project. The best timing depends on foot traffic, pets, cooking habits, water quality, and whether the grout is sealed. A busy restaurant or apartment hallway needs more frequent care than a lightly used guest bathroom.
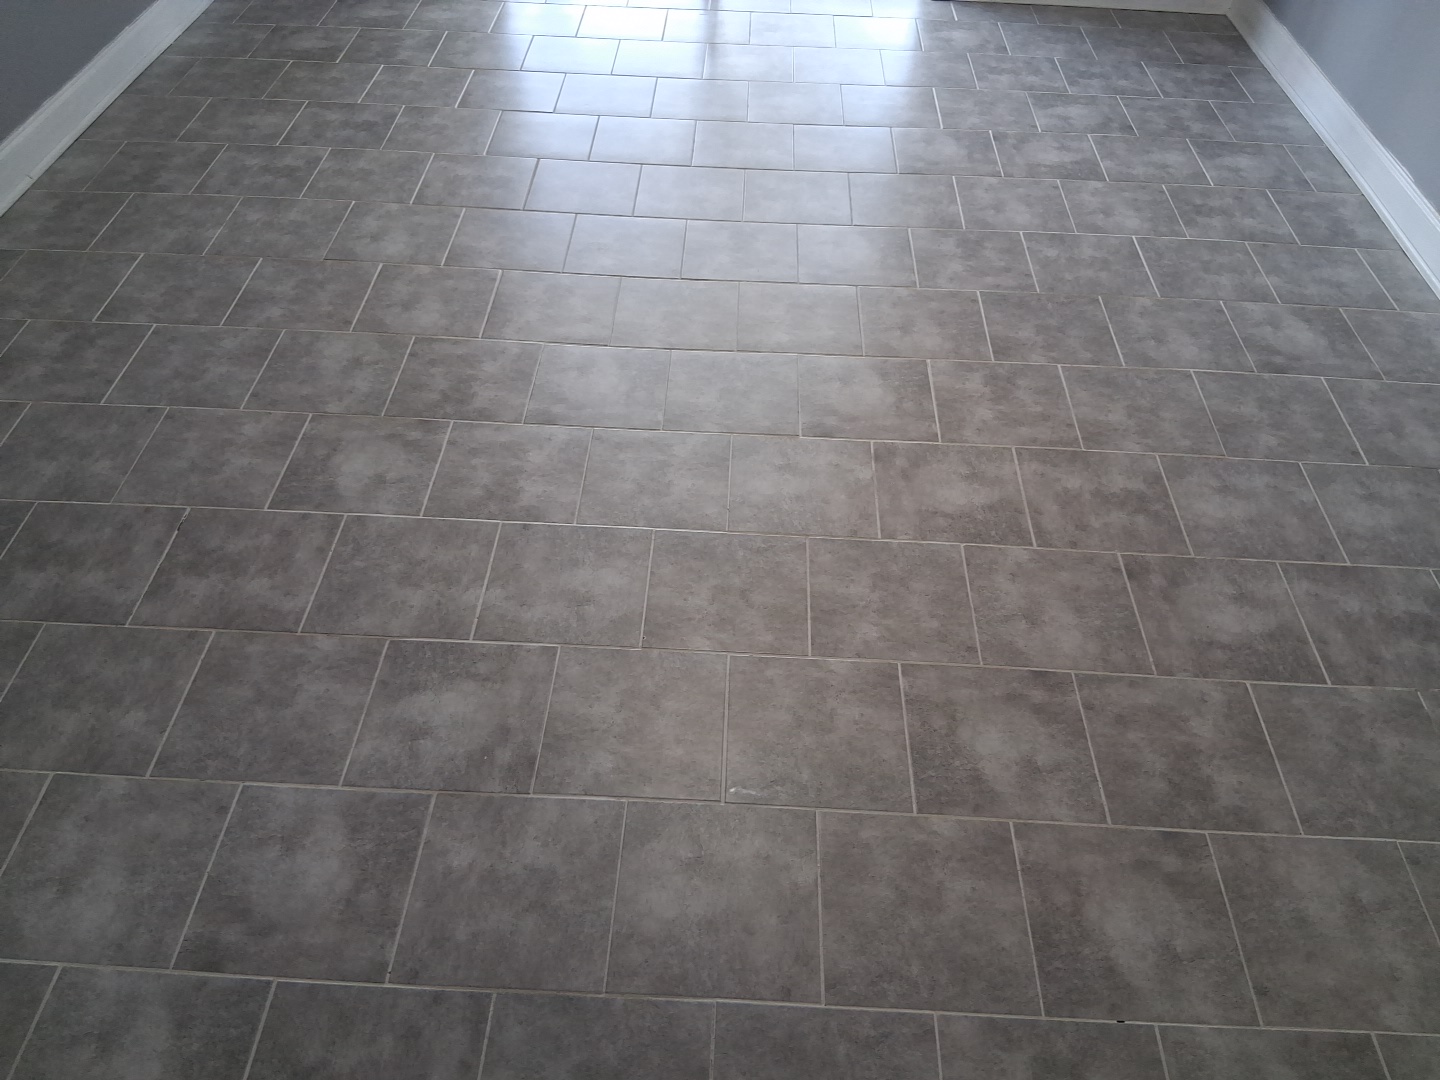
A haze-free floor should look clean from every angle, not only when it is wet. If yours still looks cloudy after careful cleaning, protect the tile by getting the surface assessed before trying a harsher product. The right process can bring back the clean, even finish you expected without risking damage to the tile underneath.