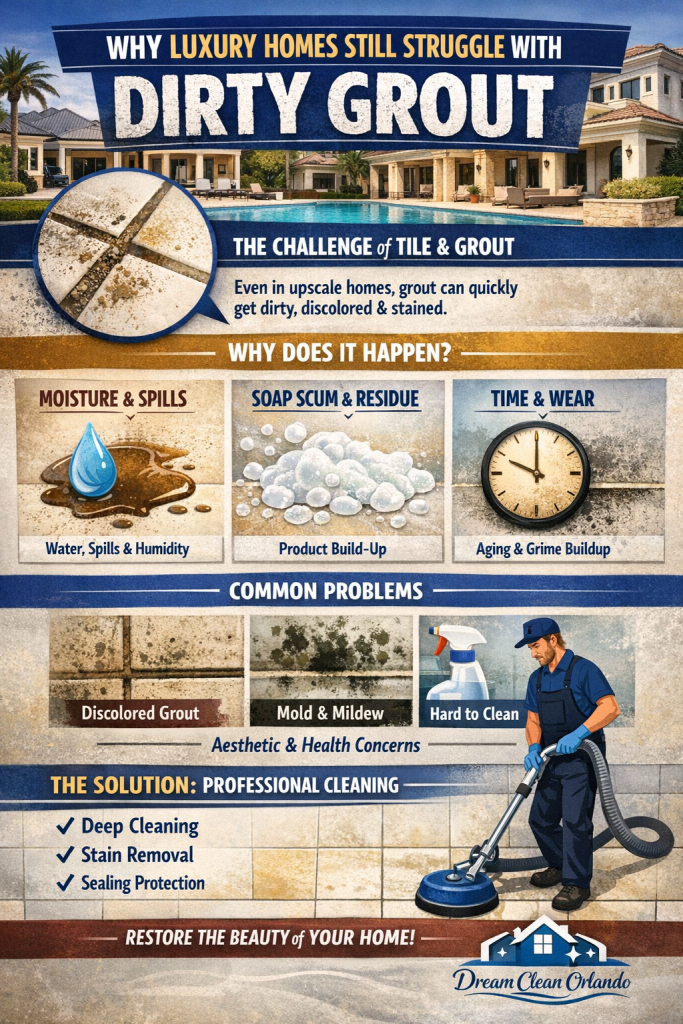

DIY tile grout cleaning is one of the most searched solutions for homeowners dealing with dark, stained grout lines. Black grout stains are usually caused by mold, mildew, or deep-set dirt that builds up over time—especially in kitchens, bathrooms, and high-traffic areas.
The good news is that with the right method, you can remove black grout stains fast using simple household ingredients.
What Causes Black Grout Stains?
Before starting any DIY tile grout cleaning, it’s important to understand the cause. Most black grout stains come from:
- Mold and mildew growth in damp areas
- Dirt and grease buildup trapped in porous grout
- Soap scum and residue
- Improper or infrequent cleaning
Grout is highly porous, which means it absorbs contaminants easily and holds onto stains deep below the surface.
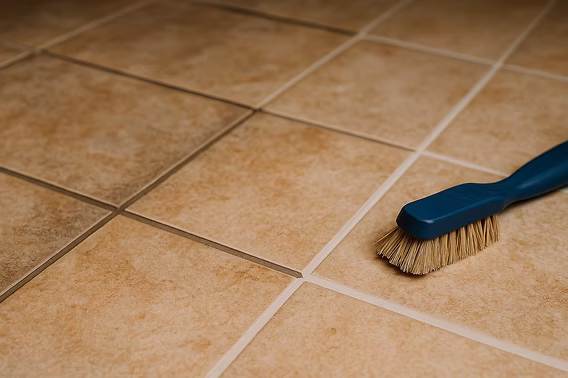
The Best DIY Tile Grout Cleaning Method
This method uses a powerful but safe combination that breaks down stains without damaging your tile.
What You’ll Need:
- Baking soda
- Hydrogen peroxide
- A small brush or old toothbrush
- Warm water
- Clean cloth or mop
Step-by-Step Instructions:
1. Make a Cleaning Paste
Mix baking soda with hydrogen peroxide until it forms a thick paste.
2. Apply to Grout Lines
Spread the paste directly onto the grout lines, focusing on black-stained areas.
3. Let It Sit (10–15 Minutes)
This allows the solution to penetrate deep into the grout and break down stains.
4. Scrub Gently
Use a brush to scrub the grout lines. You should start to see the stains lifting.
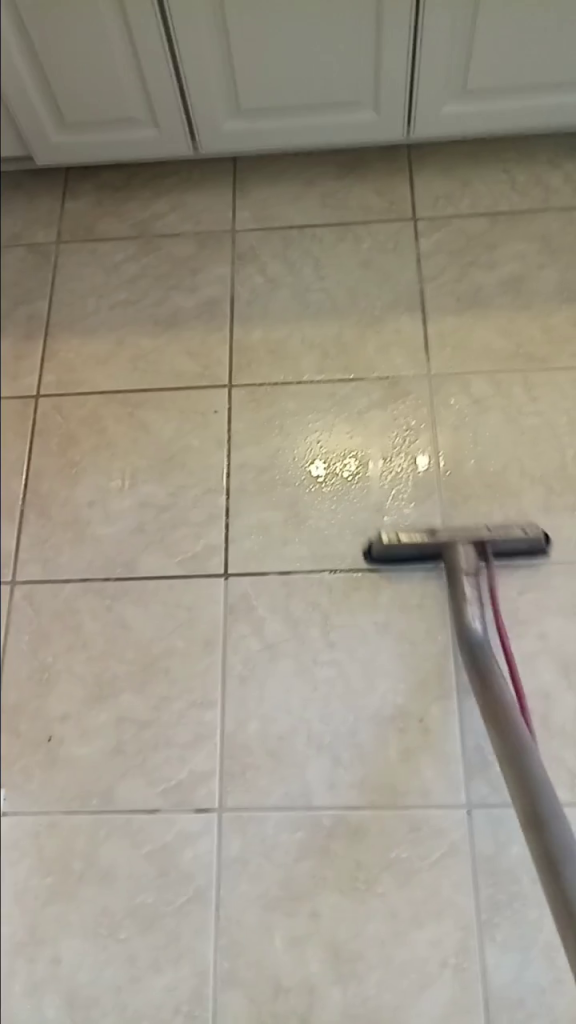
5. Rinse and Wipe Clean
Use warm water and a cloth or mop to remove residue.
Why Hydrogen Peroxide Works So Well
Hydrogen peroxide is one of the most effective DIY tile grout cleaning agents because it:
- Kills mold and bacteria
- Breaks down organic stains
- Whitens grout without harsh chemicals
It’s a safer alternative to bleach and works especially well when combined with baking soda.
When DIY Tile Grout Cleaning Isn’t Enough
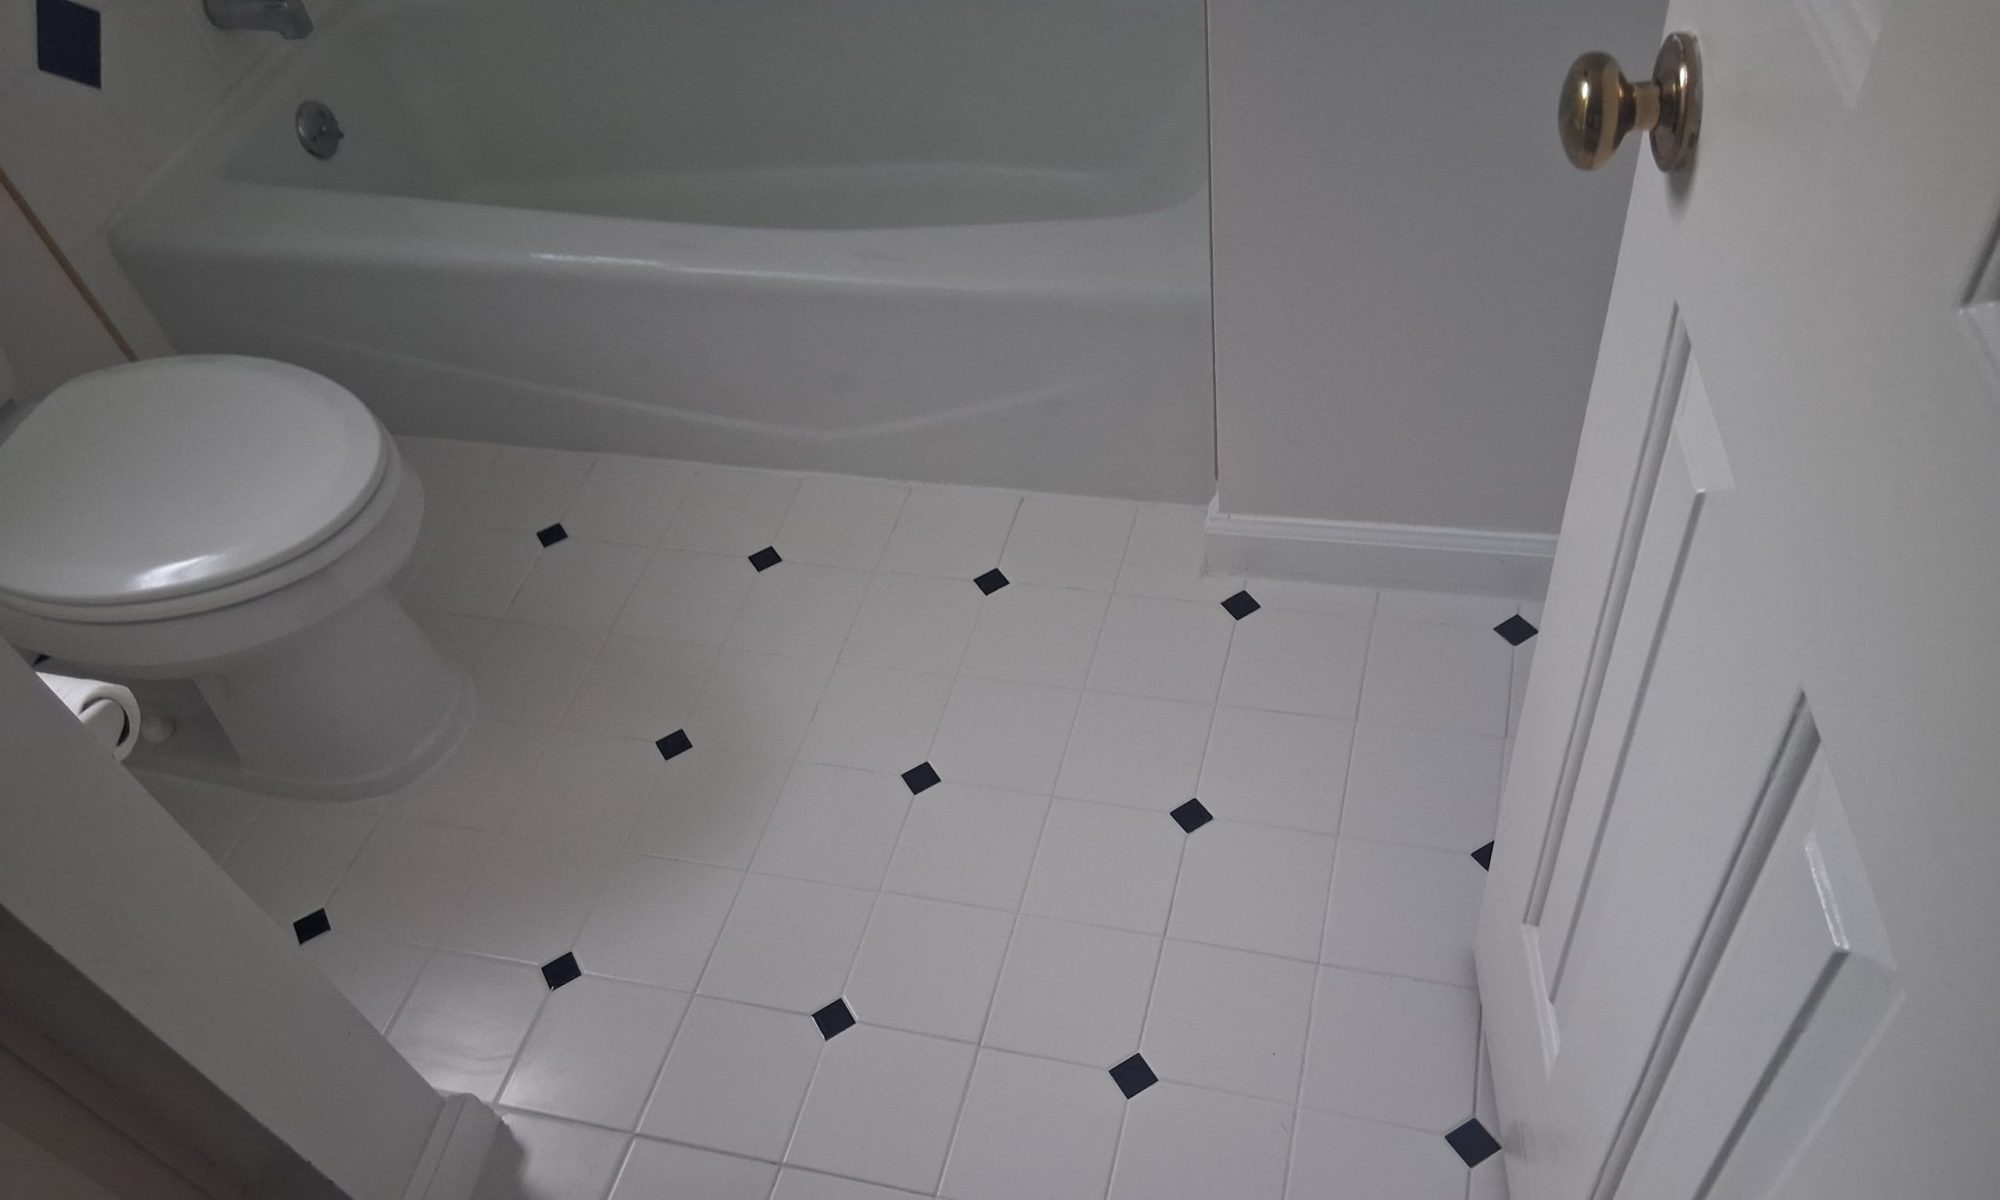
While DIY methods can improve the appearance of your grout, they often can’t remove stains that are deeply embedded. Over time, grout can become permanently discolored or damaged.
Professional tile and grout cleaning uses high-pressure equipment and specialized solutions to extract dirt from deep within the grout lines—something DIY methods simply can’t match.
If your grout still looks dark after cleaning, it may be time for a deep restoration.

Get Professional Tile & Grout Cleaning in Orlando
If you want your floors to look like new again, professional cleaning is the fastest and most effective solution.
Visit 👉 https://dreamcleanorlando.com to learn more about our services or book an appointment here:
👉 https://dreamcleanorlando.com/booking-form/
Dream Clean Orlando
Professional Tile, Grout, Carpet & Upholstery Cleaning
Serving Orlando & Surrounding Areas Since 2017
6438 Hill Rd, Orlando, FL 32810
(407) 927‑5829
Schedule Your Cleaning