Bathroom Tile Soap Scum Removal That Works
A shower can look clean right after a quick wipe-down, then turn cloudy again as it dries. That haze is often more than water spots. Bathroom tile soap scum removal means dealing with a layered film of soap, body oils, minerals, and cleaning-product residue that routine mopping or spraying often leaves behind.
In Central Florida, hard water can make the problem worse. Minerals bond with soap residue and cling to tile, glass, fixtures, and porous grout lines. The result is a bathroom that feels difficult to keep clean, even when you are putting in the work. The good news is that most soap scum can be removed safely when the cleaning method matches the tile material and the buildup.
Why Soap Scum Keeps Coming Back on Bathroom Tile
Soap scum is not simply dirt. Traditional bar soap contains fatty acids that react with minerals in water, creating a stubborn, waxy residue. Shampoo, conditioner, body wash, skin oils, and spray cleaners add to that film over time. In a humid bathroom, the surface may not dry fully between uses, giving residue more time to settle into grout texture and tile pores.
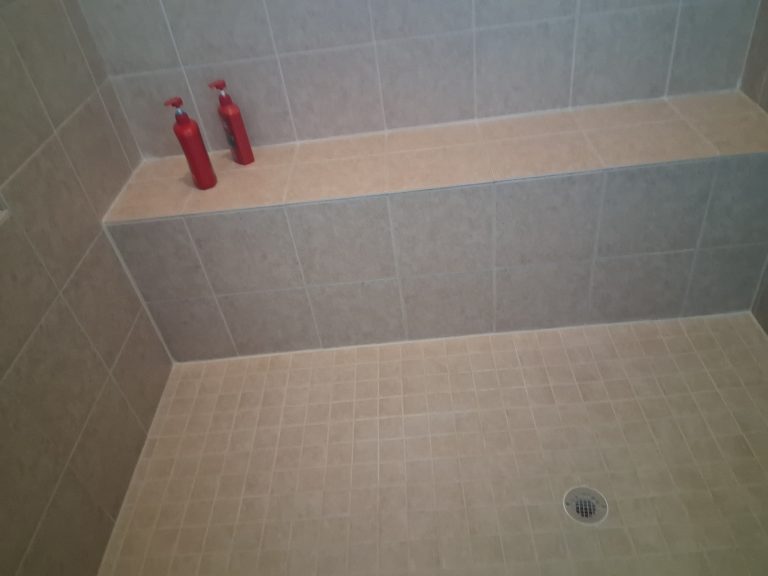
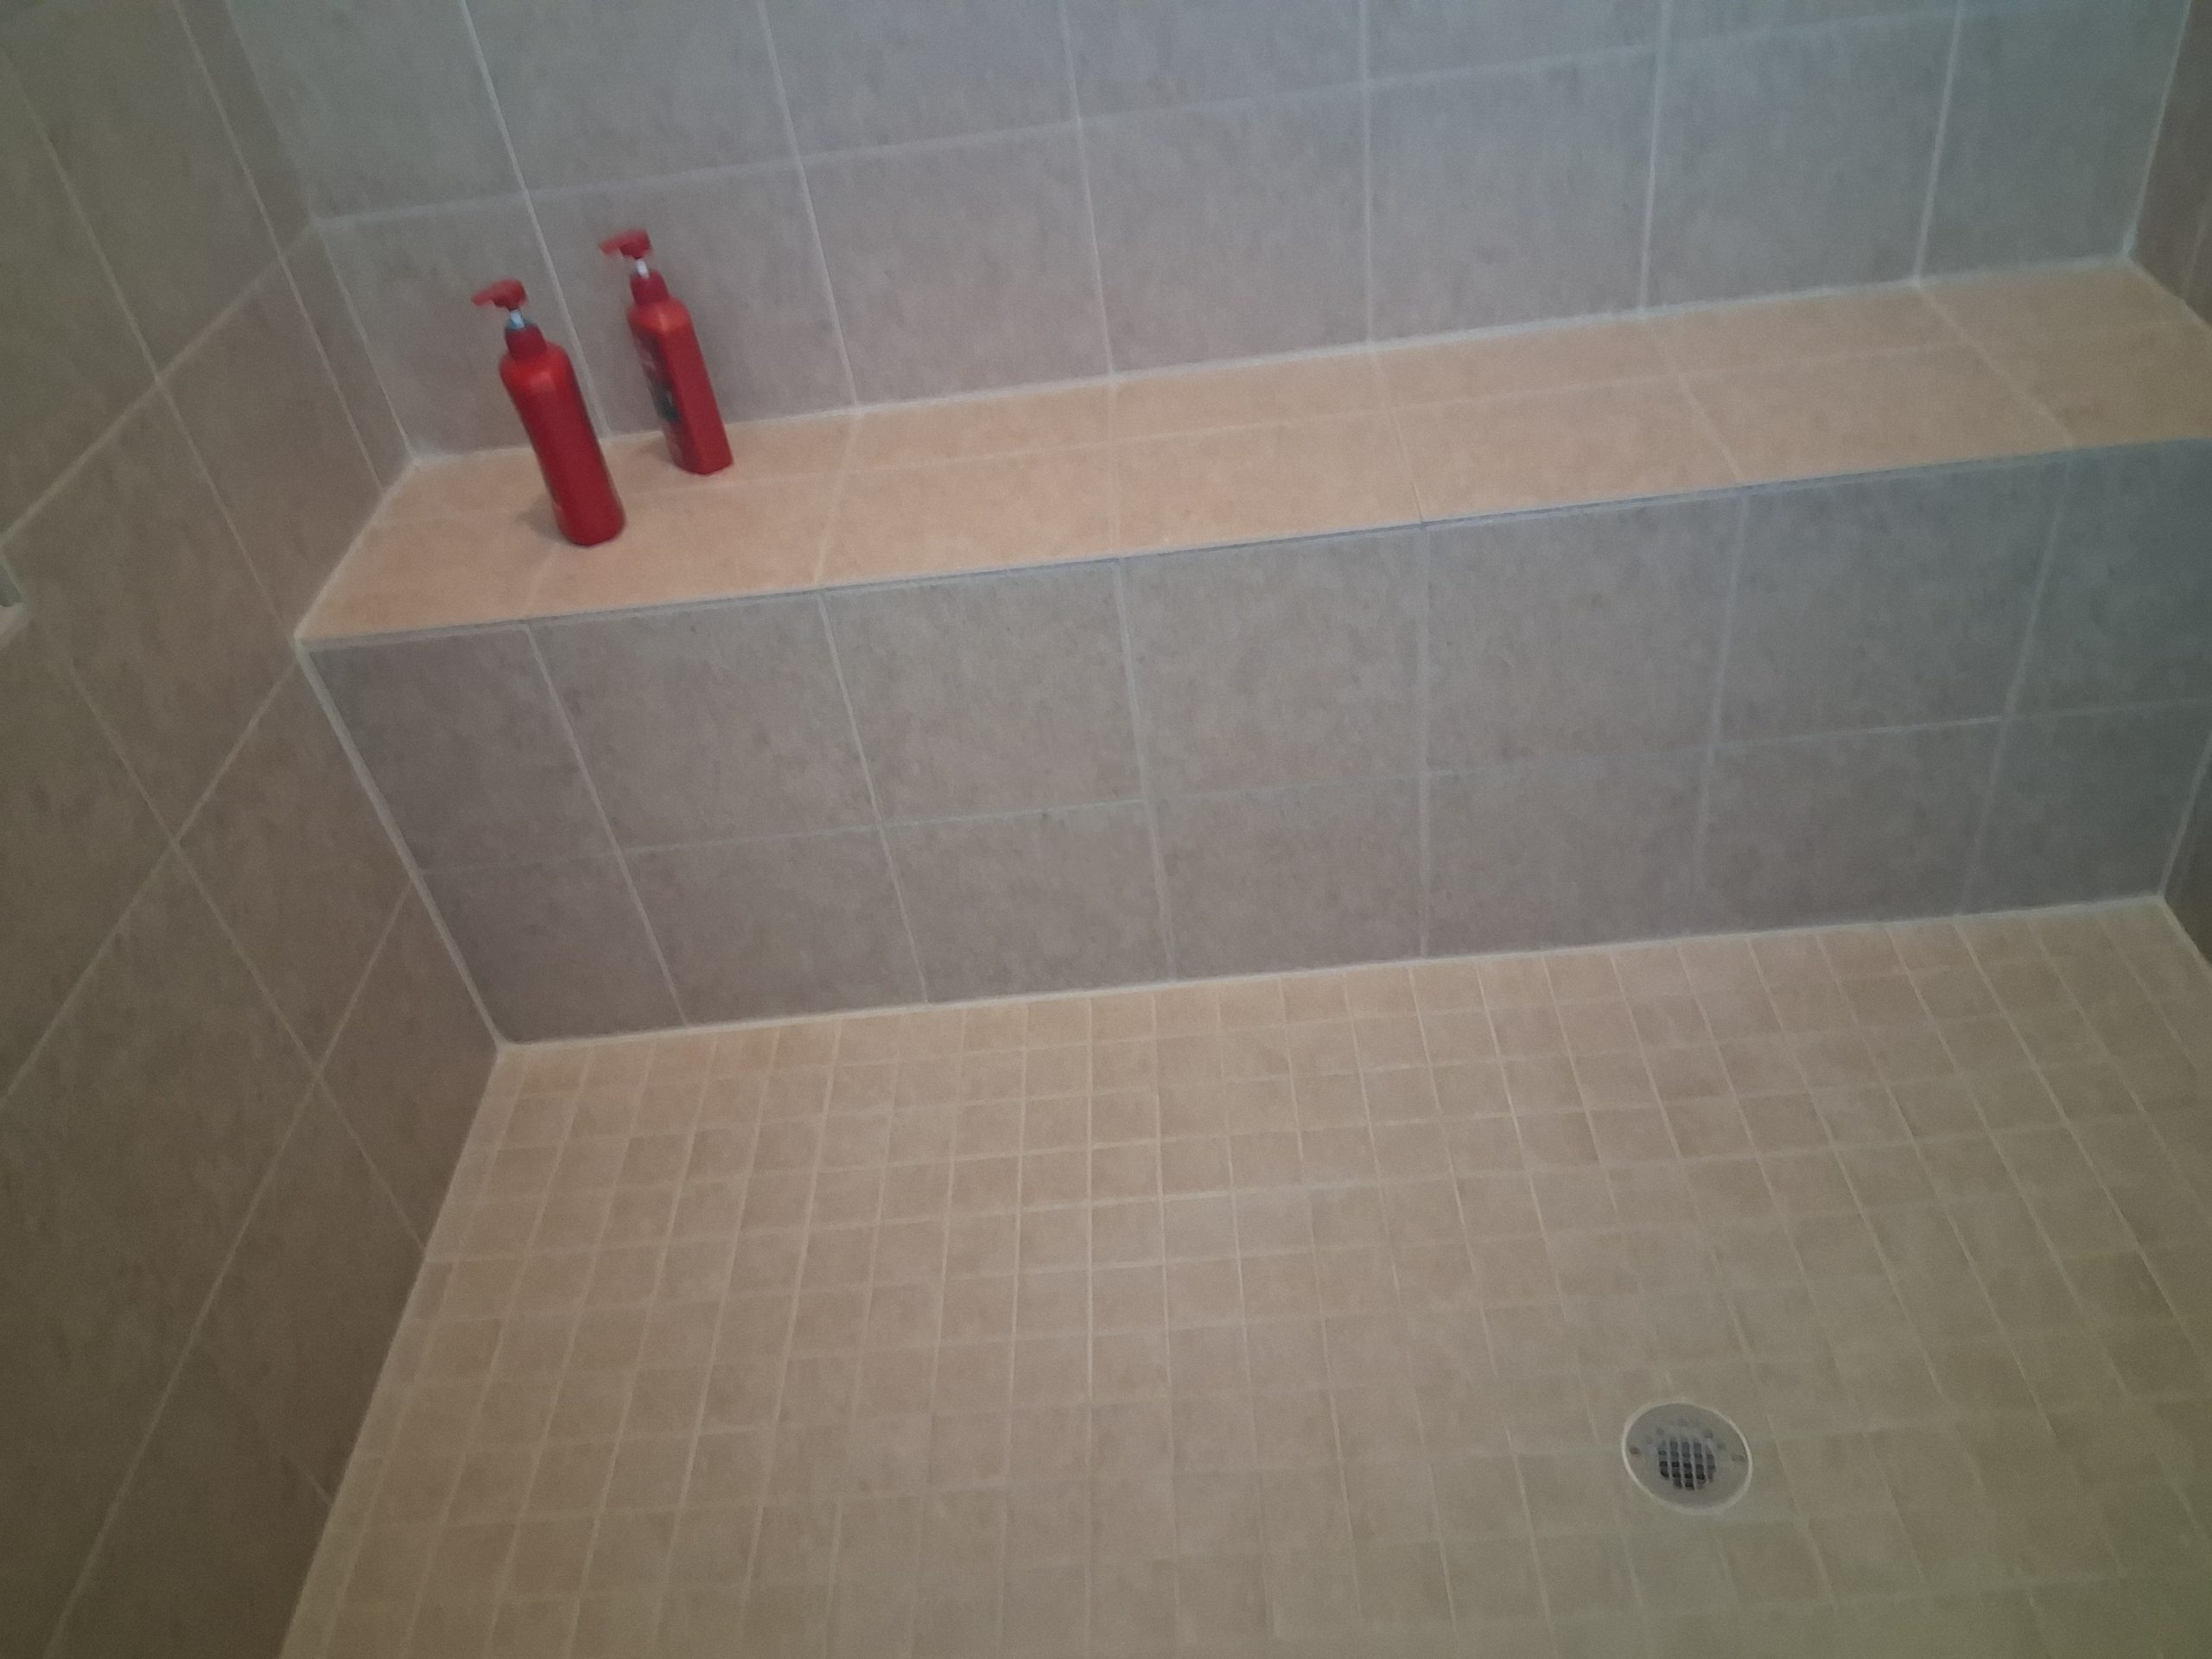
Glazed ceramic and porcelain tile usually hold up well, but grout is a different story. Most grout is porous unless it has been properly sealed. It can absorb moisture, soap residue, mildew stains, and minerals, leaving dark or uneven lines around otherwise clean tile.
Textured tile also requires extra care. Its small grooves trap residue that a sponge may glide right over. Scrubbing harder is not always the answer. Aggressive abrasives can dull the finish, scratch glossy tile, weaken grout, or strip protective sealers.
Bathroom Tile Soap Scum Removal: Start With the Right Method
The safest starting point is to identify the surface. Ceramic and porcelain tile can usually tolerate a quality pH-balanced tile cleaner or a cleaner designed specifically for soap scum. Natural stone, travertine, marble, and limestone need a stone-safe, non-acidic product. Vinegar, lemon juice, and many bathroom cleaners may cut through mineral deposits, but they can etch or permanently dull natural stone.
For light buildup on ceramic or porcelain, apply the appropriate cleaner and let it dwell for several minutes. Dwell time matters because it gives the solution time to loosen the film instead of forcing you to scrub excessively. Then use a soft nylon brush or non-scratch scrub pad, working in small sections. Rinse thoroughly with clean water and dry the area with a microfiber towel.
A dry finish is more than cosmetic. If cleaner or loosened residue is left behind, it can create another cloudy layer. Many bathrooms look streaky because the cleaning solution was not fully rinsed, not because the tile is permanently damaged.
For grout, use a grout-safe cleaner and a narrow nylon grout brush. Avoid wire brushes and harsh abrasive powders. They may make grout look better for a day, but they can roughen the surface and create more places for future soil to collect.
Never Mix Bathroom Cleaning Products
Bleach, ammonia, acids, and other strong cleaners should never be mixed. Combining products can create dangerous fumes or damage the surface you are trying to restore. If you have already used one product, rinse the area well and allow it to dry before switching to another.
Bleach also has limits. It may lighten some surface staining, but it does not remove the mineral and soap film trapped in grout or behind shower residue. On colored grout, repeated bleach use can cause fading and uneven discoloration.
When DIY Cleaning Is Enough – and When It Is Not
A regular maintenance routine can make a real difference when the haze is new and the grout is still in good condition. Wiping down shower walls after use, running the exhaust fan, and cleaning weekly with the correct product will slow the return of buildup.
However, DIY cleaning has a practical limit. If the tile still looks dull after rinsing, grout remains dark after brushing, or residue is collecting in corners and along the shower floor, the problem is likely embedded below the surface. This is especially common in older showers, rental properties, and bathrooms that have been cleaned for years with products that leave their own residue.
Professional service is also the safer choice when you have natural stone, heavily textured tile, cracked grout, deteriorating caulk, or an unknown tile material. A wrong cleaner can cost far more than a cleaning appointment if it damages a stone finish or discolors grout.
Signs that it is time for professional help include:
- Tile that stays cloudy or sticky after cleaning
- Dark, discolored grout that does not improve with a grout brush
- White, chalky hard-water deposits around fixtures and shower edges
- A shower floor that looks dingy again within days
- Mildew staining or odors that return despite regular cleaning
What Professional Tile and Grout Cleaning Does Differently
Professional bathroom cleaning is not just stronger chemicals and more elbow grease. The difference is controlled heat, pressure, agitation, and extraction. The goal is to break down embedded residue, flush it from the grout lines and tile texture, then remove it instead of spreading it around with a mop or towel.
At Dream Clean Orlando, trained technicians evaluate the tile type, grout condition, and buildup before selecting the cleaning approach. Industrial-grade solutions are applied where needed, followed by specialized tools that agitate grout lines without unnecessary damage. Truck-mounted steam cleaning and high-pressure extraction help lift stubborn soap residue, hard-water buildup, bacteria, and soil from surfaces that household tools cannot fully reach.
Extraction is a major part of the result. Loosened grime needs to leave the surface. Without that step, residue can settle back into grout pores or dry into a fresh haze. This is why bathrooms often appear brighter and more even after professional cleaning, rather than simply smelling like a stronger cleaner was used.
A technician can also spot issues cleaning alone will not fix. Missing grout, loose tile, failing caulk, and water intrusion need repair or maintenance before they become a larger bathroom problem. Cleaning can restore the appearance of sound grout, but it cannot replace material that has worn away or been damaged by moisture.
Protecting Tile After Soap Scum Is Removed
Once tile and grout are thoroughly cleaned, sealing is often the next smart step. A penetrating grout sealer helps slow the absorption of moisture, oils, and residue. It does not make grout maintenance-free, and it will not stop soap scum from forming on tile, but it gives you more time to wipe spills and residue away before they settle in.
Color sealing may be a better fit for grout that is permanently stained, uneven in color, or difficult to maintain. This process can restore a consistent grout appearance while adding a protective barrier. It depends on the grout condition and the desired finish, so an inspection is worthwhile before choosing between clear sealing and color sealing.
After cleaning or sealing, simple habits protect the result. Use a squeegee on shower walls, rinse off conditioner and body wash residue, and dry fixtures and tile edges where water collects. Clean with a pH-neutral product appropriate for your tile rather than relying on harsh chemicals every week. Good ventilation also matters, especially in bathrooms without strong natural airflow.
A restored bathroom does not need to stay perfect to stay presentable. The goal is to prevent minor residue from becoming the kind of deep buildup that hides the color of your tile, stains your grout, and makes a clean room feel neglected. When home cleaning stops producing a visible improvement, professional bathroom tile soap scum removal can bring the surface back to a condition that is easier to maintain.