
DIY Tile Grout Cleaning: The Best Method to Remove Black Grout Stains Fast
By Mike — April 5, 2026
If you’ve been searching for a way to tackle dark, stubborn grout lines, you’re not alone — DIY tile grout cleaning is one of the most common home-cleaning topics out there. Black staining usually builds up gradually, as everyday residue layers on top of itself until it forms a hardened film that a regular mop simply can’t cut through. Kitchens, bathrooms, and other high-traffic spots tend to get hit the hardest.
The good news? With the right approach, you can clear out black grout stains fast using ingredients you probably already have at home.
What Causes Black Grout Stains?
Before you grab your cleaning supplies, it’s worth knowing what you’re actually dealing with. Dark grout discoloration is typically the result of:
- Dirt that’s worked its way into porous grout and hardened
- Grease and cooking splatter
- Layers of soap scum
- Trapped moisture that lets grime settle in deeper
Because grout is so absorbent, it soaks up contaminants easily — which is exactly why it tends to darken more and more over time.
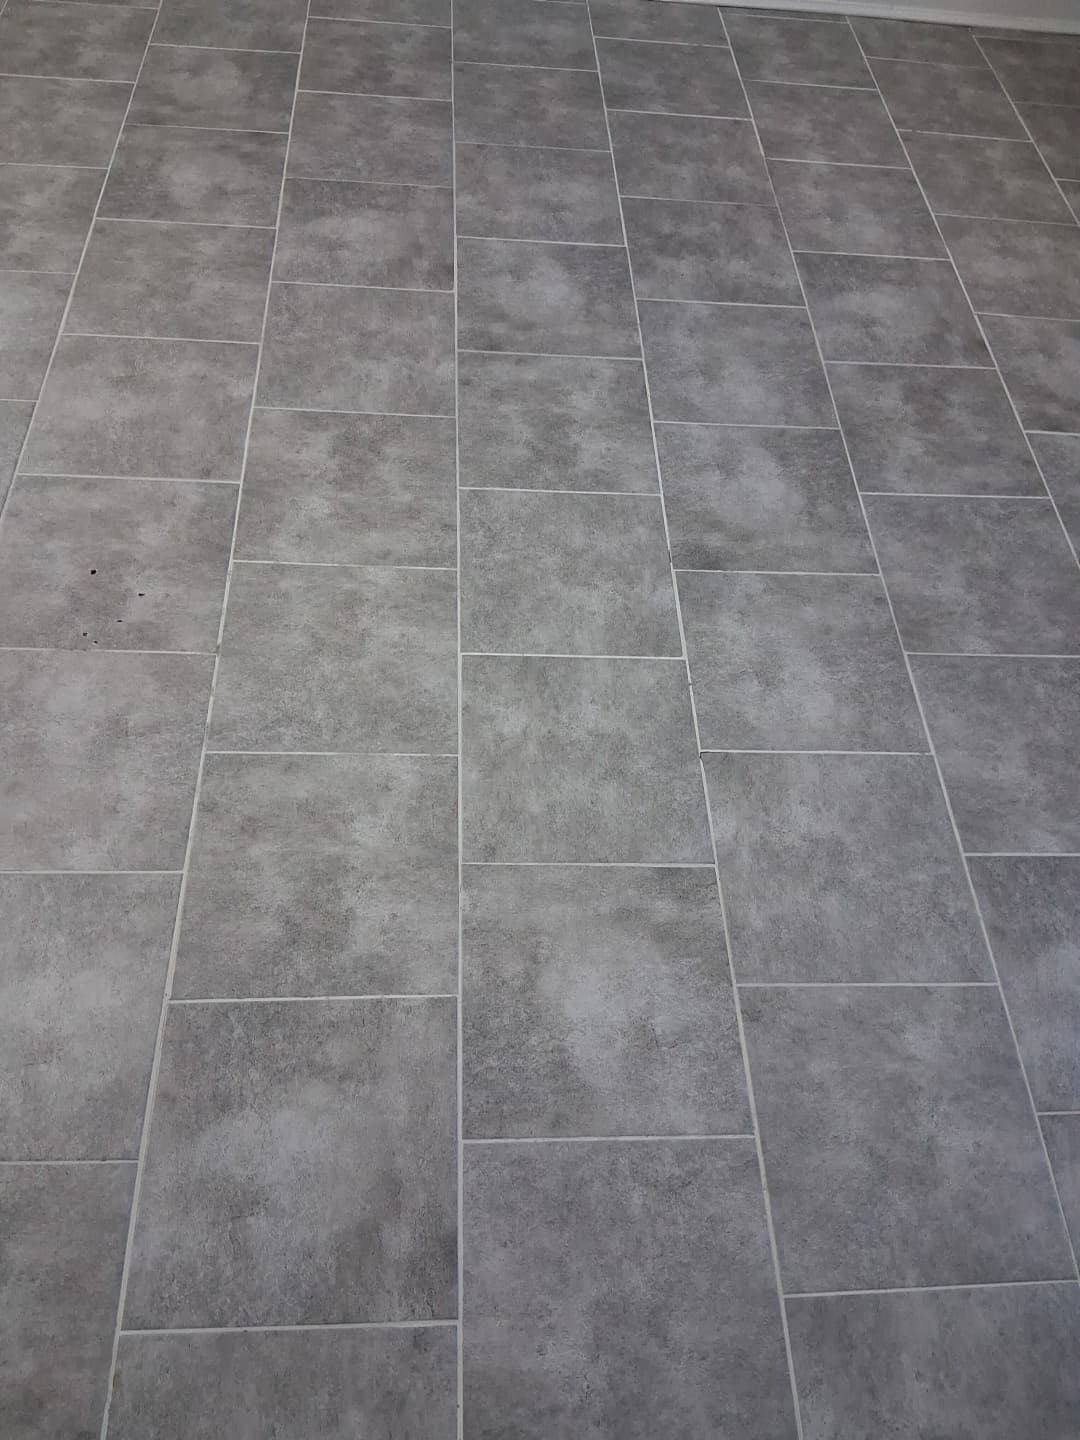
[Insert “Before” photo here]
The Best DIY Tile Grout Cleaning Method
This approach relies on a simple, safe combination that cuts through buildup without putting your tile at risk.
What You’ll Need
- Baking soda
- Hydrogen peroxide
- A small brush or old toothbrush
- Warm water
- A clean cloth or mop
Step-by-Step Instructions
- Mix your paste. Combine baking soda and hydrogen peroxide until you get a thick, spreadable paste.
- Apply it to the grout. Work the paste into the grout lines, paying extra attention to the darkest spots.
- Let it sit for 10–15 minutes. This gives the mixture time to break down the buildup trapped inside the grout.
- Scrub gently. Use your brush to lift the loosened stains — you’ll notice the grout lightening as the residue breaks apart.
- Rinse and wipe clean. Go over the area with warm water and a cloth or mop to clear away any leftover paste.
Why Hydrogen Peroxide Works So Well
Hydrogen peroxide is a go-to ingredient for DIY grout cleaning for good reason. It:
- Breaks down organic buildup
- Lifts stubborn surface stains
- Brightens grout without relying on harsh chemicals
It’s a gentler alternative to bleach, and it becomes even more effective when combined with baking soda.
When DIY Tile Grout Cleaning Isn’t Enough
DIY methods can make a real difference in how your grout looks, but they have limits — they can’t always reach stains that have worked their way deep into the pores. Over time, that can leave grout looking permanently discolored or packed with compacted residue.
Professional tile and grout cleaning uses high-pressure extraction along with specialized solutions to reach the layers DIY methods can’t touch. If your grout is still looking dark after a thorough at-home cleaning, it may be time to call in a deeper restoration service.
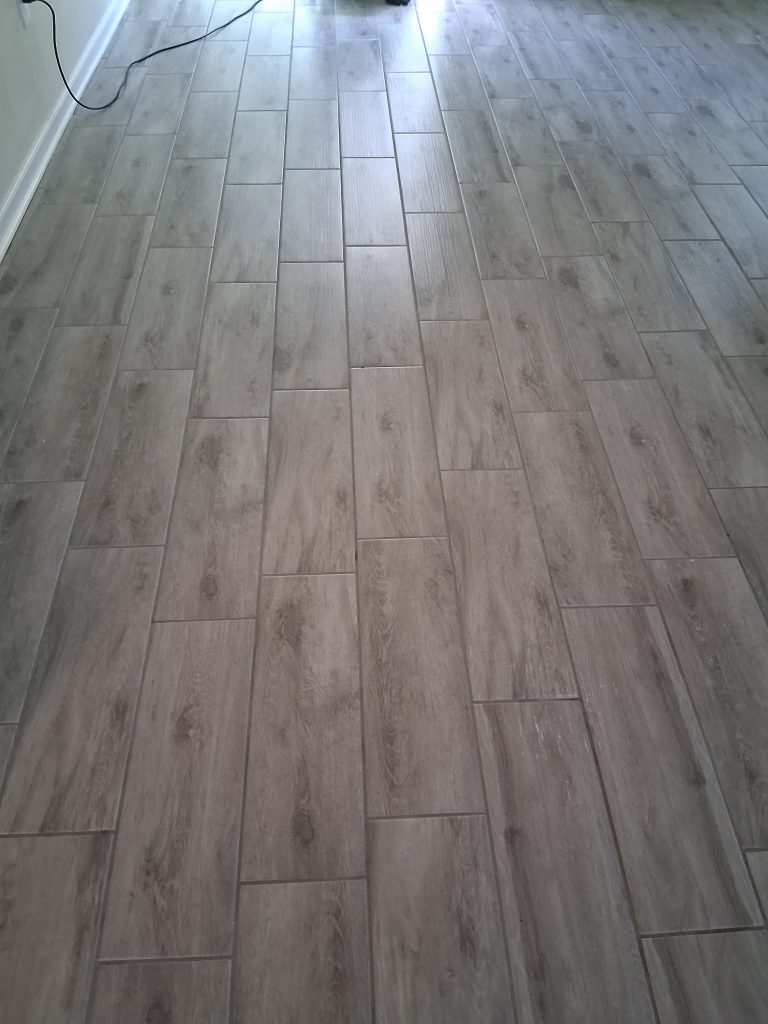
[Insert “After” photo here]
Get Professional Tile & Grout Cleaning in Orlando
Want your floors looking like new again? Professional cleaning is the fastest, most thorough way to get there.
👉 Visit: https://dreamcleanorlando.com 👉 Book an appointment: https://dreamcleanorlando.com/booking-form/
5.0 ★★★★★ based on 19 Google reviews View all reviews
Dream Clean Orlando Professional Tile, Grout, Carpet & Upholstery Cleaning Serving Orlando & Surrounding Areas Since 2017
📍 Address: 6438 Hill Rd, Orlando, FL 32810 📞 Phone: (407) 927-5829 📅 Book Online: Schedule Your Cleaning
🔗 Connect With Us: Facebook • Instagram • TikTok • YouTube
Post Navigation: ← Previous: How Long Does Tile and Grout Cleaning Take in Central Florida? Next: Tile and Grout Cleaning Orlando Homeowners Trust →
One Comment