Grout Restoration Process Guide for Orlando Homes
A tile floor can look worn out even when the tile itself is in good shape. In most cases, the problem is the grout: porous lines holding years of tracked-in soil, cooking grease, soap residue, hard-water minerals, and moisture. This grout restoration process guide explains what actually restores those lines, when cleaning is enough, and when repair or color sealing makes better sense.
For homeowners and property managers in Central Florida, that distinction matters. Replacing tile is disruptive and expensive. Professional grout restoration can often bring a kitchen, bathroom, shower, entryway, or commercial floor back to a clean, cared-for appearance without a renovation.
What Grout Restoration Really Means
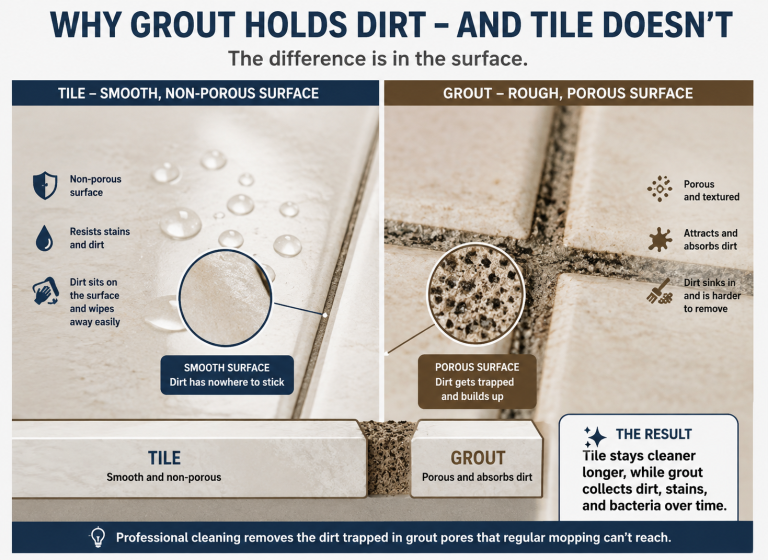
Grout restoration is more than spraying cleaner on discolored lines and scrubbing until your arms give out. Routine mopping cleans the tile surface, but it usually leaves dirty water and fine soil in the lower, textured grout lines. In humid Orlando-area homes, showers and damp floors can also develop stubborn mineral buildup, mildew staining, and soap film.
A complete restoration process starts by identifying what is causing the discoloration. Embedded dirt calls for deep extraction. Cracked or missing grout needs repair before it can be protected. Grout that is permanently blotchy or has lost its original color may benefit from color sealing rather than repeated aggressive cleaning.
The goal is not to make a damaged floor look artificially new for a week. It is to remove what can be removed, correct weak areas, and apply the right protection so the surface stays easier to maintain.
The Professional Grout Restoration Process Guide
1. Inspect the tile, grout, and problem areas
A proper service begins with an inspection. Tile material affects the cleaning method. Ceramic and porcelain can often handle stronger cleaning and extraction methods than soft natural stone, travertine, or delicate textured tile. The technician also checks for loose tile, cracked grout, failed caulk around showers, deep stains, and areas where moisture may be getting below the surface.
This step prevents a common mistake: treating every dirty floor the same way. A kitchen may have grease-heavy buildup. A shower may have soap scum and hard-water deposits. A rental turnover may involve ground-in traffic soil and neglected grout lines. Each calls for a slightly different approach.
2. Apply the right cleaning solution
Professional-grade cleaning solutions are selected based on the soil, surface, and condition of the grout. The purpose is to loosen buildup before extraction, not simply cover it with fragrance or bleach it into a temporary lighter shade.
For example, alkaline solutions can help break down kitchen grease and oily soil, while specialty products may be needed for mineral deposits or soap residue. Sensitive surfaces require more care. Using the wrong chemical on natural stone can dull or etch it, and overly harsh products can weaken grout over time.
Eco-conscious products and proper dwell time matter here. The solution needs time to work into the pores, but it should not be left sitting long enough to create residue or damage vulnerable surfaces.
3. Agitate grout lines and difficult edges
After the solution has loosened the buildup, the grout lines are agitated with professional tools. This lifts soil from textured grout and from edges where a mop cannot reach. Corners, baseboards, shower ledges, and transitions between rooms often need extra attention because they collect more residue than open floor areas.
This is one reason do-it-yourself cleaning can be frustrating. A brush and store-bought cleaner may improve a small spot, but a large floor has hundreds of grout lines. Hand scrubbing is time-consuming, inconsistent, and often leaves loosened soil behind.
4. Use high-pressure steam cleaning and extraction
The most visible part of restoration is high-pressure cleaning paired with immediate extraction. Truck-mounted equipment delivers maximum heat, pressure, and recovery to flush grime from grout lines while pulling dirty water away from the floor.
The extraction step is critical. Flooding a floor with water without removing the slurry can move dirt around or leave it to settle back into the grout. Professional recovery helps keep the work area controlled and leaves the surface much cleaner than scrubbing alone.
Results depend on the condition of the grout. Deep soil, surface staining, and residue often lift dramatically. Permanent dye stains, old discoloration, rust, and severe mold-related staining may not disappear completely with cleaning. An honest technician should explain that before promising a specific outcome.
5. Repair cracked, missing, or failing grout
Cleaning reveals the true condition of the grout. Once the soil is removed, cracks, chips, missing sections, and weak joints are easier to see. These areas should be repaired before sealing because open grout can allow water and debris below the tile surface.
In showers, the joint where tile meets a tub, wall, or shower pan may require flexible caulk rather than grout. Grout is rigid. Caulk is designed to move slightly as the surrounding materials expand and contract. Using the correct material helps reduce future cracking and moisture problems.
Small cosmetic repairs can make a major difference in the finished appearance. Larger failures, loose tile, or evidence of ongoing water intrusion may require a more involved repair assessment. Restoration is valuable, but it should not hide a structural issue that needs to be fixed.
6. Decide between clear sealing and grout color sealing
After cleaning and repairs, sealing is the step that protects the investment. Clear grout sealer penetrates porous grout and helps reduce absorption from spills, soil, and moisture. It is a smart choice when the grout has cleaned up well and its natural color is still even.
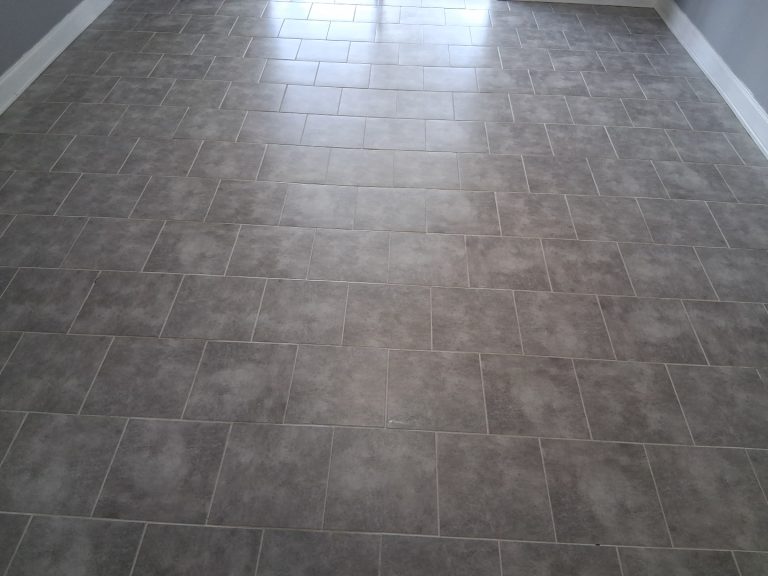
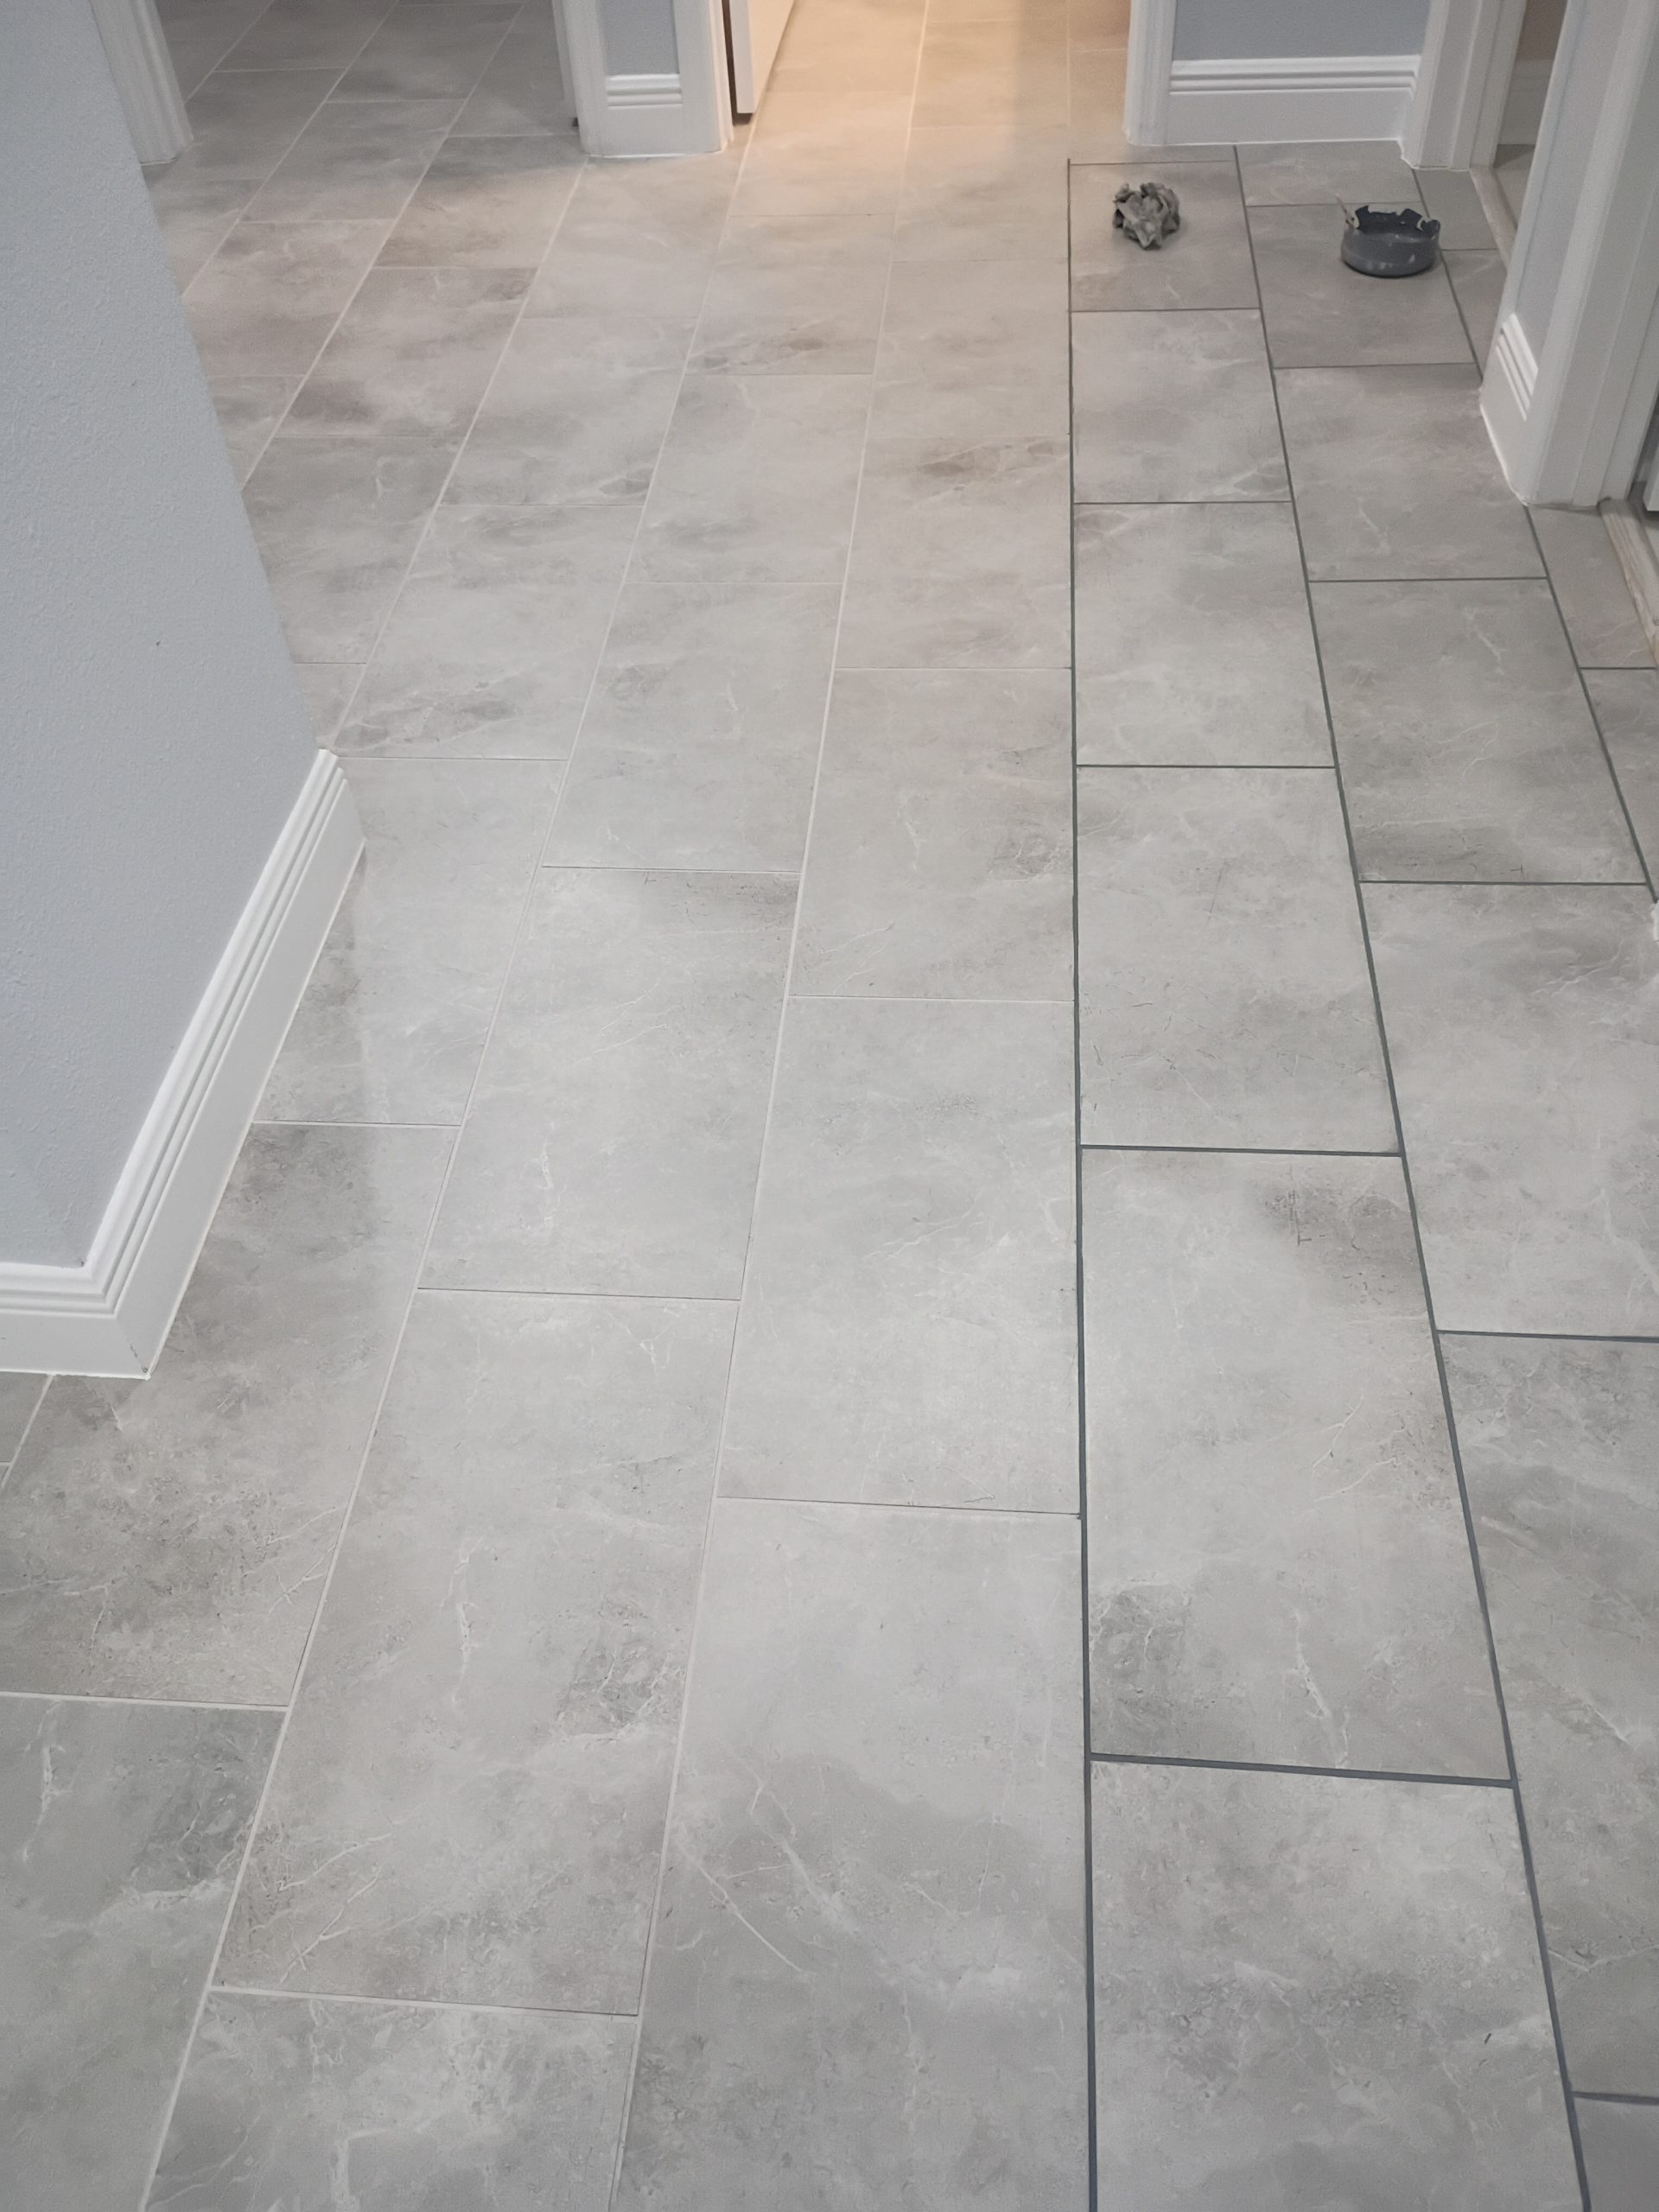
Color sealing is different. It applies a consistent color to the grout while also creating a protective barrier. This option works especially well when grout is permanently stained, unevenly colored, or simply impossible to restore to a uniform shade through cleaning alone. It can make an older floor look dramatically more consistent without replacing the tile.
There is a trade-off. Clear sealing preserves the grout’s current appearance, including any remaining variation. Color sealing gives a more finished, uniform look, but choosing the color takes thought. Neutral shades that complement the tile tend to be the safest long-term choice for homes, rentals, and commercial spaces.
When Professional Restoration Is Worth It
Professional service is often the practical choice when mopping no longer improves the floor, grout looks dark or blotchy, shower tile feels grimy, or a property needs to look cared for before guests, tenants, or customers arrive. Restaurants, medical facilities, offices, and apartment common areas also benefit from a cleaner, more sanitary hard surface that can stand up to frequent traffic.
It is also worth calling a specialist before trying strong acid cleaners, chlorine bleach, or abrasive tools. These products can create fumes, damage natural stone, wear down grout, or leave surfaces looking patchy. A quick test in one hidden area does not always predict how an entire room will react.
Dream Clean Orlando uses professional steam-cleaning, high-pressure extraction, repair, and sealing methods to restore tile and grout while treating each surface according to its condition.
How to Keep Restored Grout Looking Better Longer
Restored grout still needs regular care, but the routine becomes much easier after deep cleaning and sealing. Sweep or vacuum grit before mopping so it does not act like sandpaper across tile and grout. Use a neutral-pH cleaner rather than heavy soap products that leave a film. In showers, remove excess water with a squeegee and keep ventilation running after use.
Address spills, pet accidents, and cooking grease promptly. In high-traffic entryways and kitchens, washable mats can reduce the amount of soil reaching the grout. Avoid soaking floors during mopping, especially along edges and transitions where water can sit.
The timing for resealing depends on traffic, cleaning habits, grout type, and whether the area is exposed to water. A busy commercial walkway needs more attention than a low-traffic guest bathroom. If water no longer beads on the grout or stains begin soaking in quickly, it may be time for another professional evaluation.
A clean grout line changes the way the whole room feels. Whether you are preparing a home for sale, maintaining a rental, or tired of a shower that never looks fully clean, the right restoration work can protect the tile you already own and make daily cleaning far less of a chore.